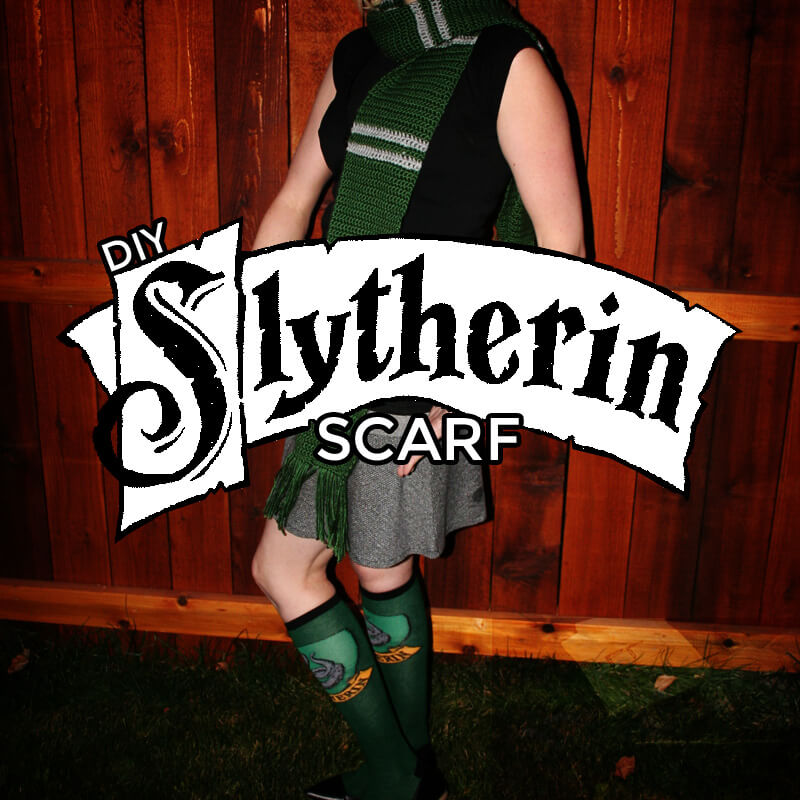
It all started with a pair of socks.
It was one of those rare occasions when I managed to bring my husband to the mall. This means a mandatory (though painless) stroll through the collectibles merchandise store.
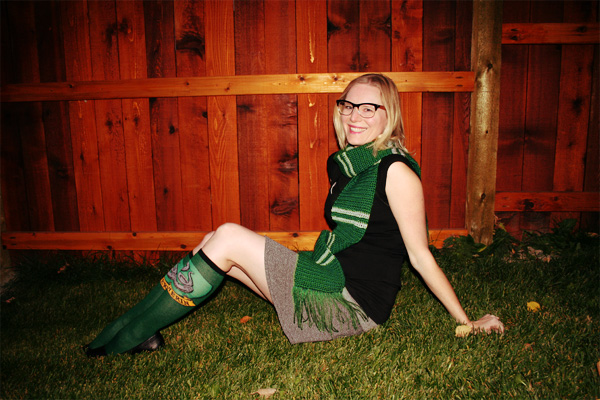
Twenty minutes and two bored children later, we emerged with two transformer tshirts, one promise to come back with my son’s allowance, and a pair of Slytherin socks almost as fantastic as a nargle.
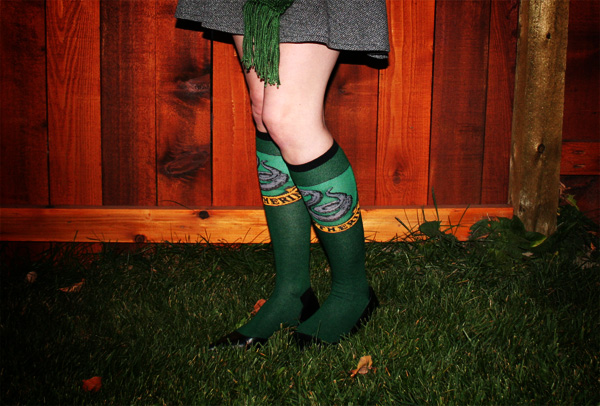
And what’s a pair of Slytherin socks without the matching scarf?
After looking at the selection in the store (dismal and somewhat pricey) I remembered that I knew one crochet stitch. One stitch should be enough to make a scarf, right? It turned out the answer is a resounding yes. Thank you, Grandma, for teaching me the single crochet!
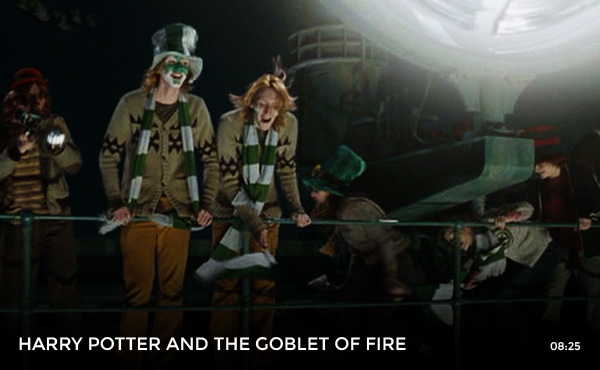
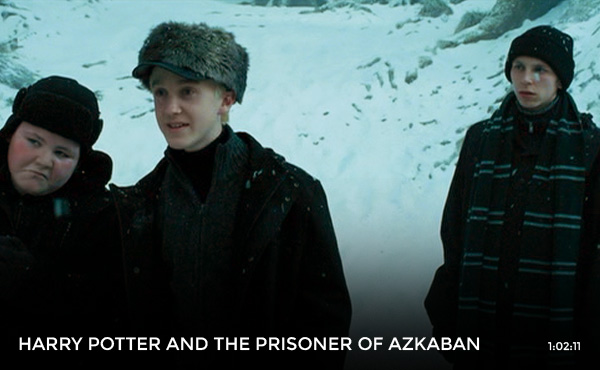
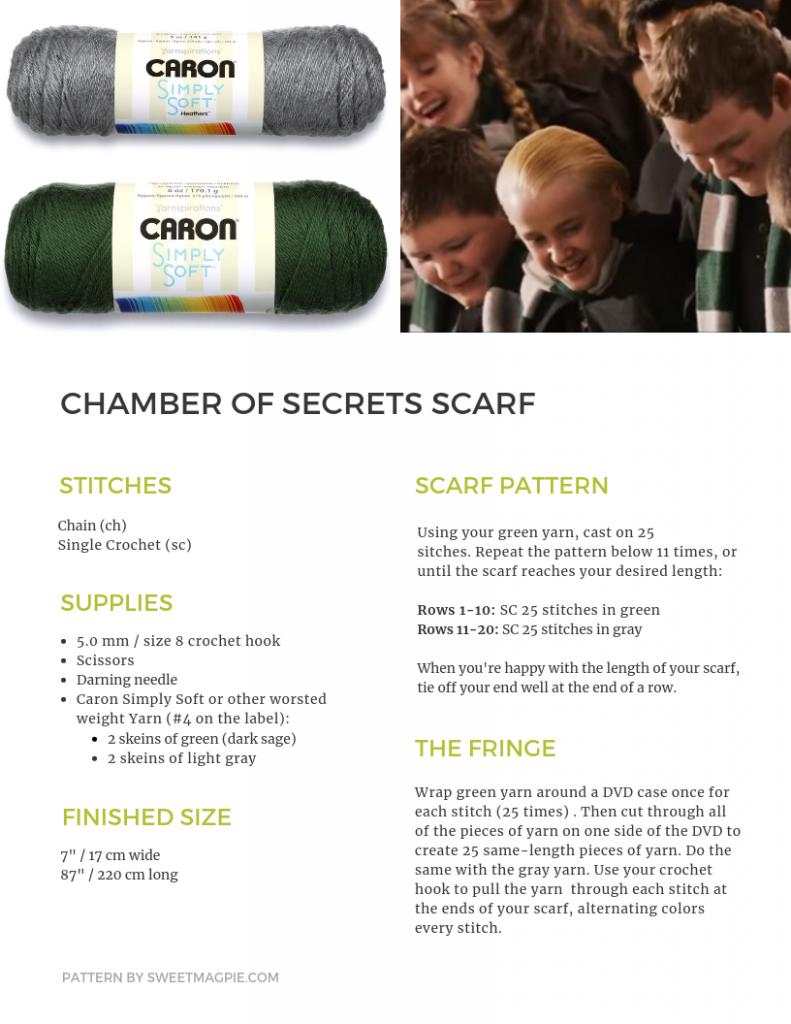
After wasting time on the internet… I mean research… I found there are actually two styles of Slytherin scarves. The earlier Harry Potter movies feature a blocked version (11 rows green, 11 rows grey, repeat ad nauseam) and the later movies showcase this lovely striped version. I chose the striped scarf.
So how do you start making this scarf?
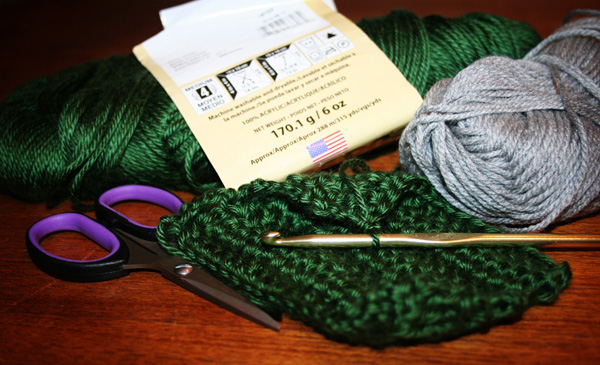
You’ll need a few things first. Pretty basic, really. You’ll need:
- 2 skeins of green yarn, worsted weight
- 1 skein of light gray yarn, worsted weight
- 5.0 mm crochet hook
- Scissors
- Darning needle
If you’re not sure what worsted weight yarn looks like in the store, look for a big number 4 on the wrapper. I found the deep green by Caron Simply Soft to be a really nice weight to work with, as well as having a bit of luster to its finish. The label on the side says to use a 5.0mm crochet hook, so you’ll need one of those. And a pair of scissors for trimming ends.
How big do I make this thing?
It turns out that a Slytherin scarf is both quite wide and quite long. I made mine less wide than the movie pictures show. If you like the width of my scarf, I went with 25 stitches wide (just under 7″ wide). To get the more movie accurate sizing, you’ll need it to be about 40 stitches wide (about 10 inches wide). Yowzas.
Alrightey. Let’s get cracking!
So, to start off, chain your 25 stitches.
Once you’ve got the 25 down, add an extra stitch and then loop back the other way. Keep single crocheting rows back and forth until you have a nice wide swath. Mine is 11 rows high.
Then comes a lovely new skill I learned, switching colors (thanks, youtube!)
You’ll need 2 rows of gray, 2 rows of green, and then another 2 of gray.
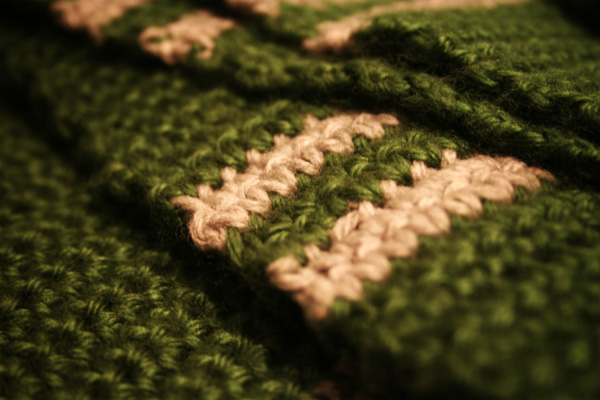
Once you’re done that, you can start on another 11 rows of the green. Repeat until you’ve got your scarf to a nice length. In the movies, the scarf ends around mid-thigh. Make sure your last swath is 11 rows of green, then tie off your ends. My scarf turned out to be 13 repeats of the 11 rows of green, which made an 87″ long scarf since I’m tall and wanted the scarf to be long on me. The movie scarf is 69″ long.
But what about that stupefying fringe?
There’s a bit of variation in whether to add a fringe or not, how long to make it, and whether you want to alternate gray & green, or just do it green. I preferred the green version.
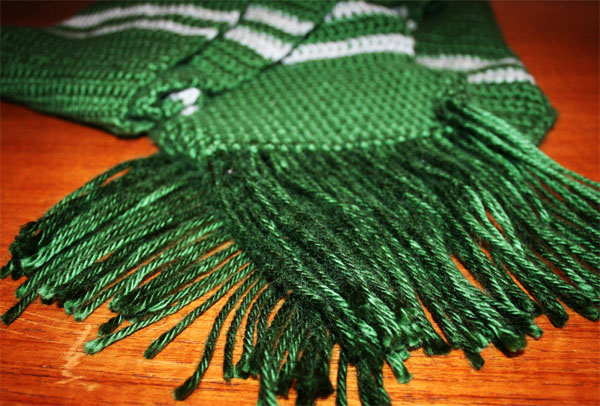
I like a nice long fringe on my scarves, so I took a tip from the other crochet gurus online and wrapped the yarn around a DVD case once for each stitch – 25 times altogether. Then you cut the ends, and voila! You have 25 same – length pieces of yarn perfect for a fringe. You can use your crochet hook to pull the yarn through each stitch at the ends of your scarf to make the fringe.
Once you’ve added your final fringe pieces, you’ll get something as fabulous as this:
Happy scarf making! If you make a scarf, send me a photo – I’d love to see it!
Download the Pattern
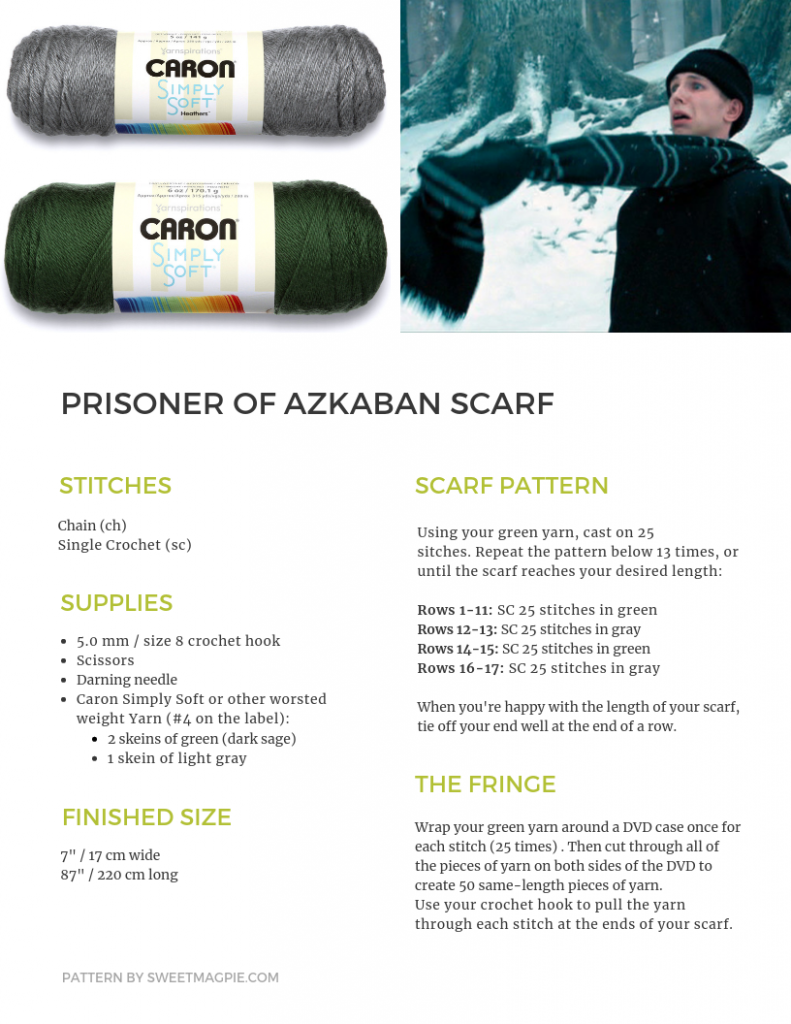
2019 Update: I’ve made up a printable pattern for those of you who prefer to follow the written word. And while I was at it, I drafted up a pattern for the color-blocked scarf featured in Chamber of Secrets as well as the striped one shown above. Happy crocheting!

20 replies on “How to crochet a Slytherin scarf”
Hey I found you on youtube and just wanted to say thank you so so much for this tutorial! I want to make a Ravenclaw scarf and needed a little bit help :3
I also subbed you and hope to see more videos soon ^-^
I’m so glad you found it useful! Let me know if you have any questions and I’ll do my best to help out 🙂
Found you on Pinterest. Thank you for posting your version of the House Scarf. Should be easy to change up the colours for all 4 Houses. Thank you!
Yes, changing up the colors for the houses is really easy! I just have to track down a Hufflepuff now since I’ve made Ravenclaw, Gryffindor, and Slytherin.
Hi I also just wanted to say thank you! I have been crocheting for just a few months now and am still very “Crocheting 101” and this tutorial was very helpful! I also love your photos you added to your post. I am currently creating a Ravenclaw one because I cannot contain my excitement for my first Wizarding World trip this Christmas! Thanks again.
I only learned crochet a few years ago myself, so I definitely get the whole “crocheting 101” thing. I’m so glad you liked the photos – this was a really fun tutorial to make and photograph! Although it’s hard not to love geeking out Hogwarts style 😉
Enjoy your trip – and I’d love to see a photo of you in your scarf if you have one to share!
When you change the colors and weave them back in on the next row, how do you keep them from being seen through the piece?
That’s always a tricky one. If you weave them into the next row, you will see them peeking through every so often. I usually weave it into a previous row so it blends in with the same color. Let me know if that works better for you!
Is this Sage Green or Kelly Green in the brand? It somewhat looks like Kelly Green but upon purchase I notice it’s much brighter. Thank you.
Great question! I went with Dark Sage in Caron Simply Soft. It looks brighter in some of the photos depending on the lighting that was available. But any green yarn will do, as long as you like it!
Great instructions, this was really helpful 🙂 . Cant wait to make myself a Ravenclaw scarf! And also, do you think adding on a Ravenclaw emblem would be cool??
Absolutely! I haven’t tried adding an emblem yet, but let me know how it turns out. What a great idea!
Helloooo <3 Found you on Youtube and this tutorial has been helpful. Any tips on how can I add the badge? Thanks 😀
I’d recommend buying the badge and just stitching it on with thread. I found them for all 4 houses by searching for “harry potter crest iron on” on Amazon, though I’m sure they’re available other places too. Happy scarf making!
Can I get this in a written pattern
Thanks for sending in the request for a written pattern! I didn’t have one handy so I made one up. It’s at the bottom of this post for you to download or print: https://boulianne.net/maker/how-to-crochet-a-slytherin-scarf/
How can I make my scarf flowy like yours?..
flowy like its not too stiff..
Can’t really explain..
The flowy-ness of a scar is determined by a few things: one is how tight your stitches are (looser has more flow) and the other is your yarn selection. Selecting a softer yarn or a lighter weight yarn will make your scarf less stiff. Best of luck!
Sorry to keep bothering you, but what yarn? and type? did you for the scarf? And where do you buy your yarn?
I usually get mine from Hobby Lobby and I’m working on this scarf for my brother cuz he wants one but my mum keeps saying its too thick..
I bought Caron Simply Soft yarn in worsted weight. It does make a fairly thick scarf. If it’s too thick and stiff after adjusting your stitch tension, I’d suggest either a lighter weight yarn or using a bigger crochet hook to keep the stitches loose. Hope this helps!