I’ve always had this idea that refinishing furniture would be a fulfilling, joyous project to undertake. It’s unfortunate that I didn’t learn otherwise until my second chemical burn in fifteen minutes (boo! to paint stripper) and was too far in to bow out gracefully. So, before you start your first refinishing project, let me give you fair warning:
Refinishing furniture is a work of love. It costs more and takes longer than you think it will. It takes time, patience, and several very thick pairs of rubber gloves.
Still with me? Bravo. Splendid. Well done. We shall begin.
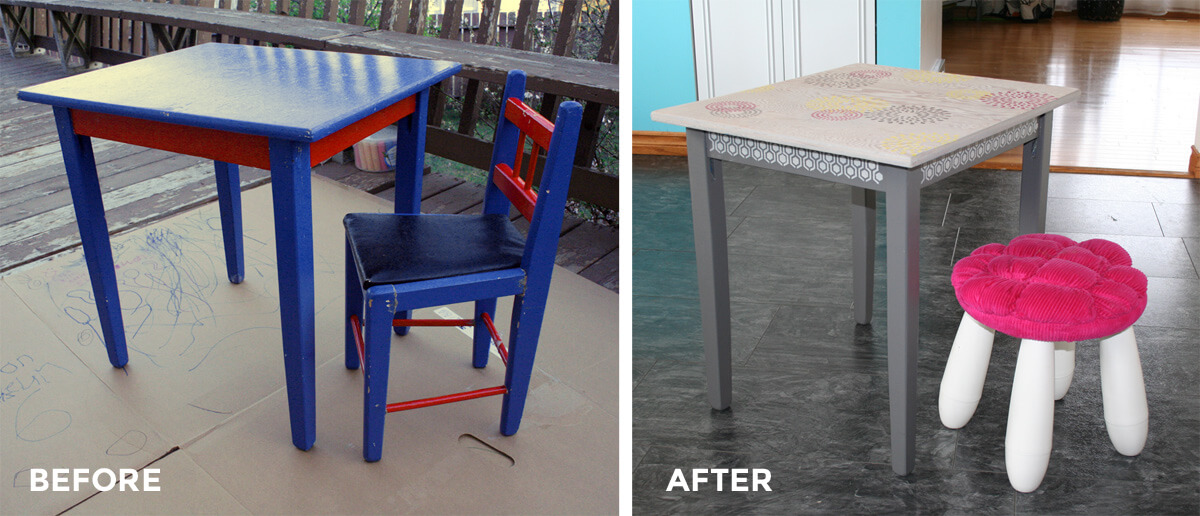
Before
As previously mentioned, my husband and I have produced a few children. We wanted to set up a kids’ computer on the main floor – we hear computer literacy is big these days – but didn’t have room for a full desk. My search on Varage sale found me a wooden child-sized table and chair for $10. Perfect.
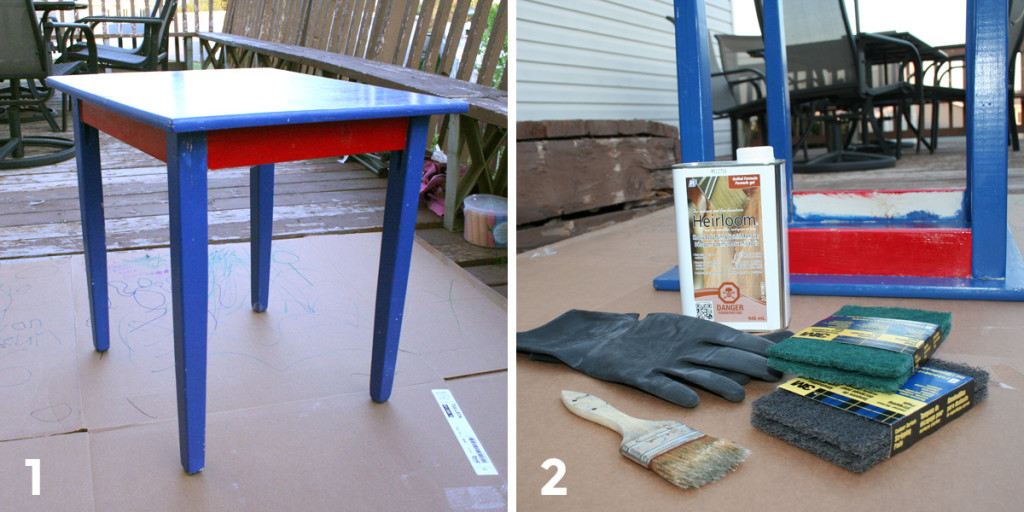
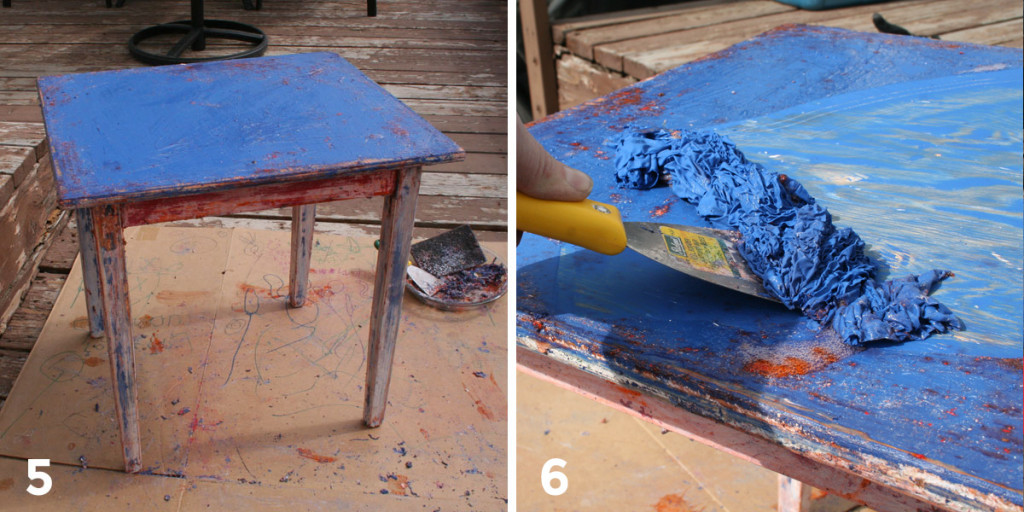
The table and chair looked something like this when I got them:
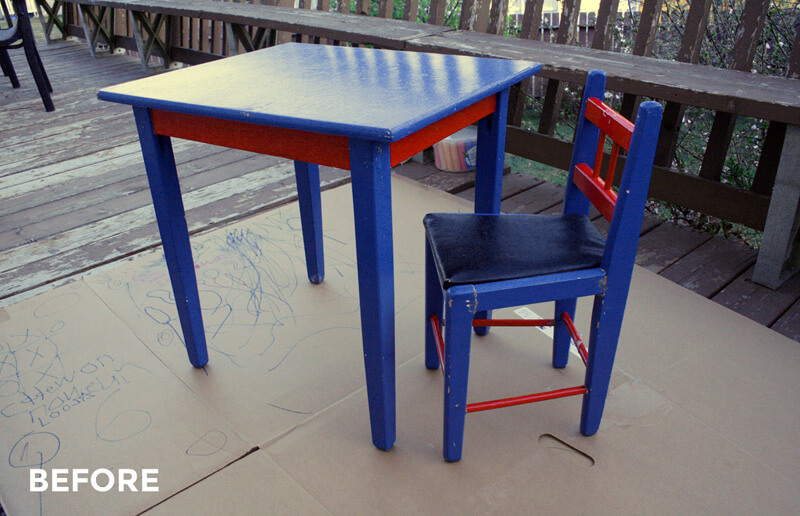
The table and chair had taken a bit of a beating in the past, as well as being painted in bright primary colors. Now I have nothing against bright colors (you should come over and see my house sometime), but this 90’s retro-chic just wasn’t what I was going for.
So for my first ever furniture stripping project, I decided to tackle the table. I’ve done a fair amount of painting over the years, and figured refinishing would be a roughly equivalent amount of effort. Right? Riiiight.
Getting started
I go often enough to the Home Depot paint department that they know me by name. Okay, only one employee. And she just happens to have a son in the same school as mine. The boys are also in the same class. Anyway…
I asked advice on what kind of chemical paint stripper to use. She recommended using a gel remover since it stays in place much better on vertical surfaces than the liquid stuff. The label on the jar recommended getting heavy duty rubber gloves and furniture stripping pads, similar to fine steel wool, so I picked up those as well (2). I had an old paint brush to apply the stripper with at home. You’ll need one of those too.
I started one Thursday evening at 8 pm after I put the kids to bed. I figured I’d just don the gloves, pour some paint stripper onto the table, and wipe it around with my brush.
That turned out to be fine as far as it went, but there were a few things I figured out partway through that I wish I’d known sooner:
- Paint stripper burns the skin on contact. The warning on the container should have given it away. If you’re a bit too flamboyant with the brush (which I was) or bump a surface with paint stripper already removed with your arm (which I did repeatedly), you’ll have to toss your gloves off and make the ten-second dash to the sink to rinse it off.
- Paint stripper also burns rubber gloves. I had two pairs of gloves get bubbles in them/start to melt, at which point I had to carefully peel them off and hunt down another pair.
- Paint stripper is hard to apply straight from the container. Google recommended pouring the chemical goop into a glass pie plate before applying with your brush. That worked out much better. Google for the win.
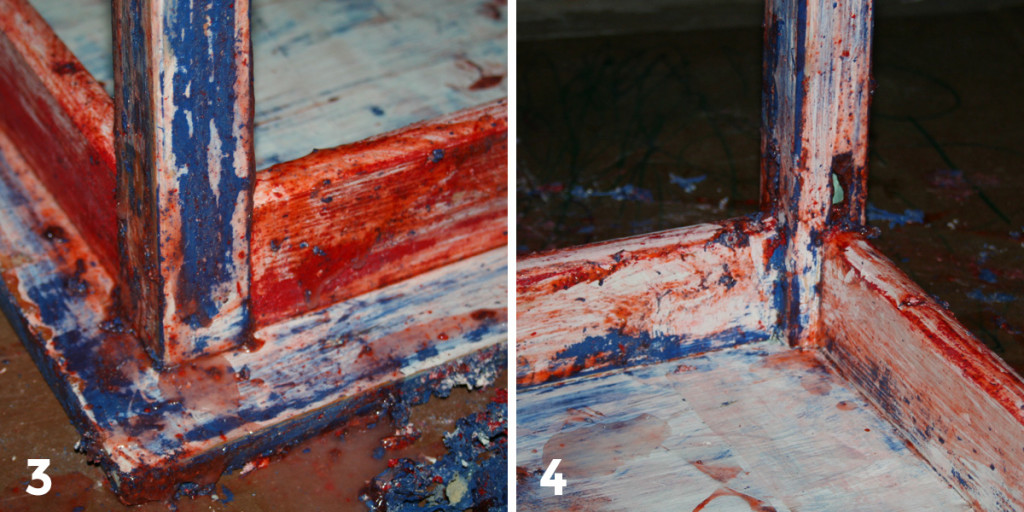
I applied three separate coats of paint stripper that night, waiting after each one for about ten minutes before scraping it off with a metal scraper. By the time all was said and done that night it was 10 pm and pitch black outside. I’d made very little progress (pictures 3 & 4), managed to burn myself with chemicals repeatedly, and was thoroughly and utterly disgusted with the whole thing. I closed up the bottle of paint stripper, tossed in my gloves, and went to bed.
The original plan was to stain the table legs and paint the top. After seeing what a patchy paint removal job I was doing, I decided to switch things around – stain the top and paint the legs. This meant I only had to get the top surface paint free, and could just get rid of the worst of the buildup on the table legs (5).
When removing paint from the table top, I tried a few things differently: adding three times as much paint remover as before, and waiting a full half hour before scraping (6). This turned out to be the winning combination.
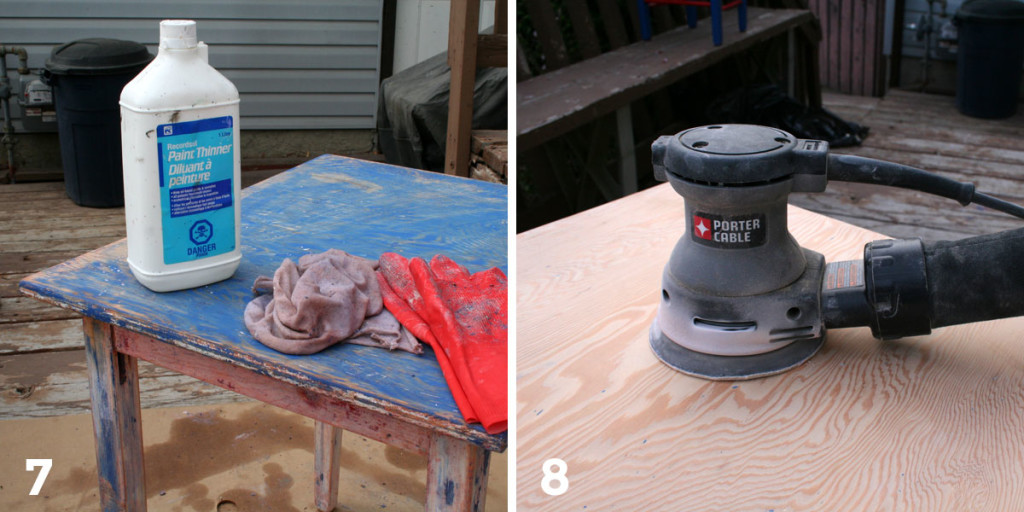
The paint stripping jar recommended wiping the table down with paint thinner once the chemical had dried to remove residue (7). I did this. It seemed to work alright, but left the table smelling of paint thinner for several weeks.
My next door neighbor stopped by to see what I was working on and offered me the use of his power sander (8). Bless those beautiful neighbors, everyone. The sander worked like a dream. The dye from the blue paint had sunk into the wood itself. It took about half an hour to remove the top layer of plywood with the orbital sander. Then I gave the rest of the table a quick once-over to smooth out a few gouges I’d made with my scraping knife and smooth out the last of the paint. After that, the most painful part was over.
Paint & stain & stencils, oh my!
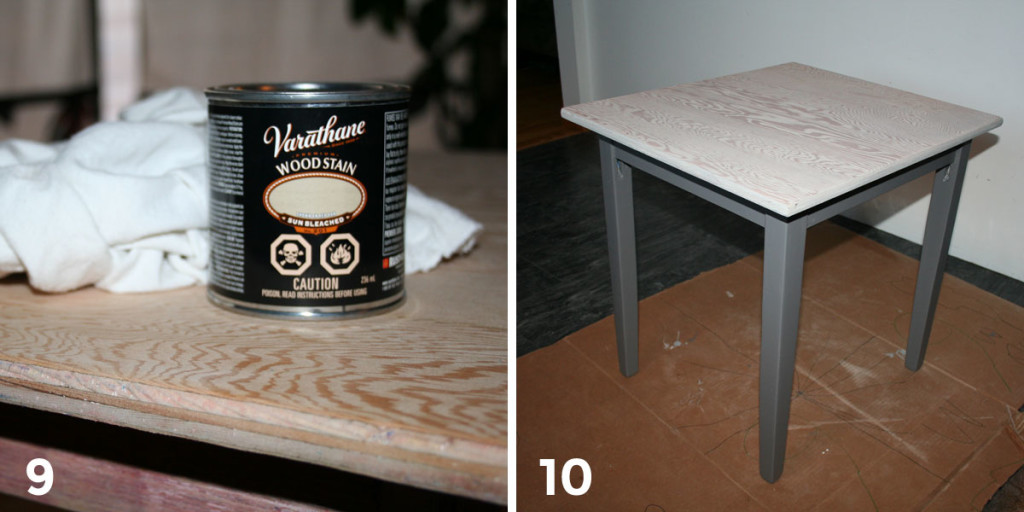
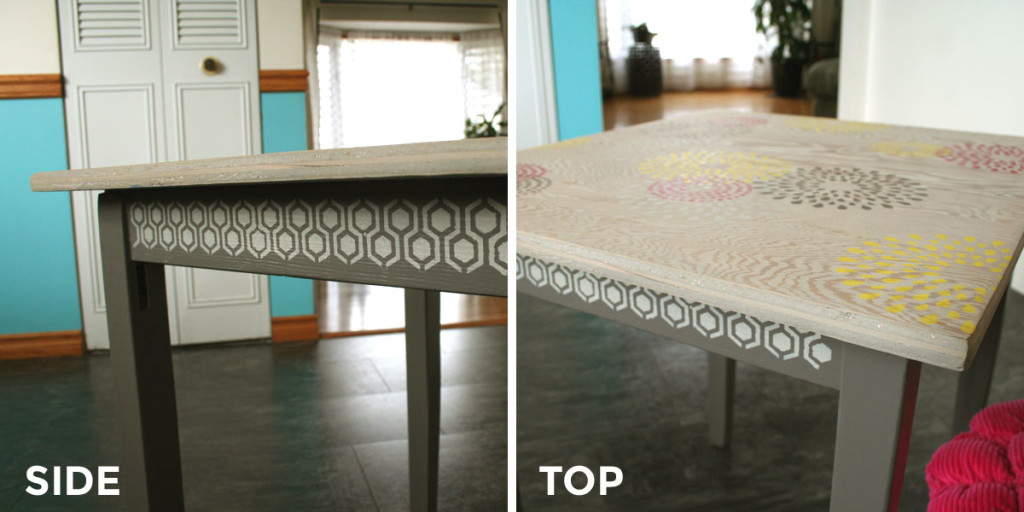
The next step was to pick out my paint and stain colors. I had a nice dark gray house paint left over from painting my guest room and decided to do the legs in dark gray. This meant the top would be a light whitish-gray to lend contrast and highlight the texture of the wood (10).
I’d heard through the grapevine that the gel stains are easier to work with as they don’t streak much. If you’d like the same color as shown below, I used Varathane wood stain #201: sun bleached (9). You just put your handy dandy rubber gloves back on, grab an old t-shirt, and apply to the wood you’d like to stain. I ended up doing 2 coats, with an hour between each coat for dry time. It came up perfectly!
At this point, I could have called it a day. The table had been gentrified to a modern, pared down version of its previous self.
But anyone who knows me will tell you I love accents of bold color, paired with an overabundance of pattern. If it’s got too many patterns going on, I’ll probably love it. Including those rooms from the 60’s where the wallpaper matches the curtains. And the bedspread.
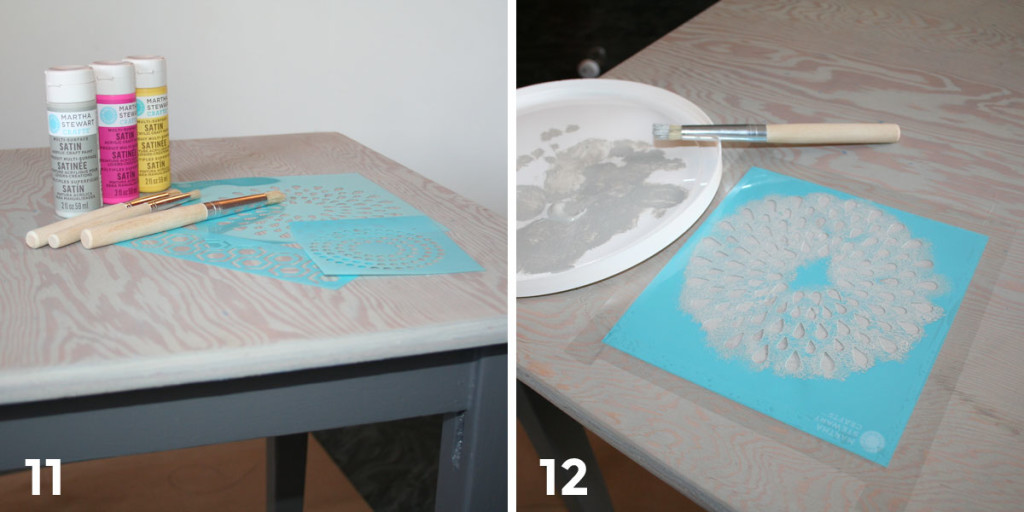
I had a set of painting stencils (Martha Stewart, Arabesque) I’d bought several years prior, just because I loved the patterns. I’d never found a good application for them and was super excited when I realized they could have their debut right here on this table.
There are three jars of paint pictured below. I only used two of the three, as the pink turned out to be way too bright. The gray (wet cement by Martha Stewart) was intended to closely match the top of the table for use on the skirting. The yellow is a buttery, sunshiny shade (yellowjacket by Martha Stewart) that’s cheery without being primarily bold.
To stencil, you’ll need the stencils themselves, acrylic paint, a stenciling brush or three, and either tape or spray adhesive to keep the stencil in place. I used clear tape, but after seeing the results would want to try using spray adhesive next time for cleaner edges.
Little Miss was also excited at this point since she was finally allowed to help with the painting (13). I was thinking about not using pink on the table top at all since the one I’d purchased was too bright, and I couldn’t find a shade I liked.
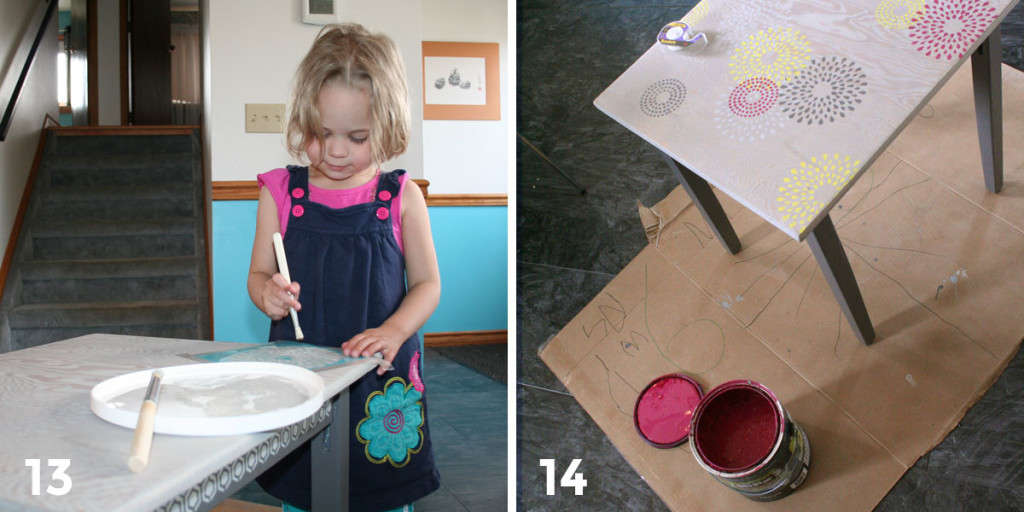
Then I remembered a can I had leftover from painting my kitchen. I like to think of it as a raspberry color. It reminds me of fruit every time I look at that wall. Mmm. The wall paint worked surprisingly well with the stencils – so do consider using your leftover paint for your next stenciling project!
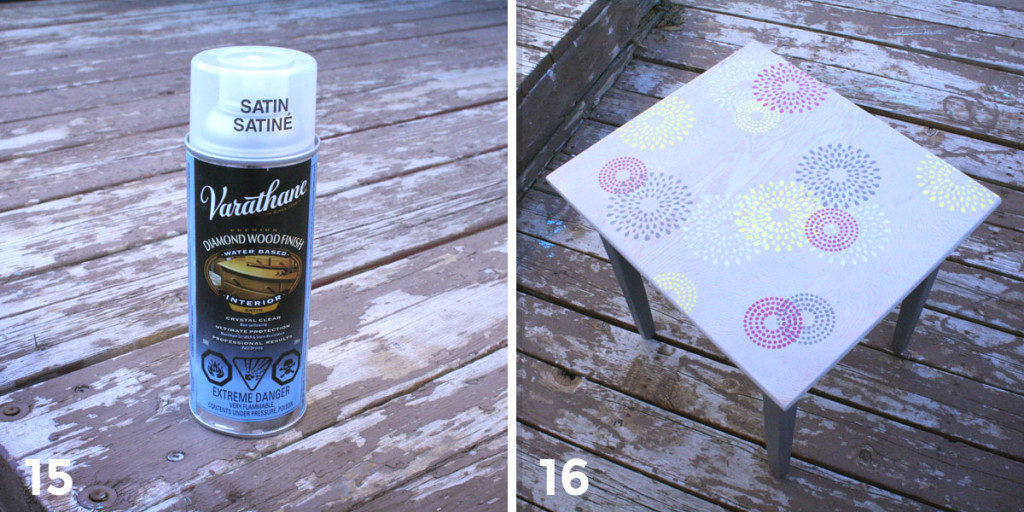
Below we have a quick snapshot of the completed stencil work:
After stenciling mayhem, we were almost done.
The last step was to spray a clear sealant over the table top. Apparently, the water-based sealants don’t yellow with age, so I chose one of those. I ended up spraying on four coats since I knew this table would be wiped on a daily basis and I didn’t want my hard work getting washed away.
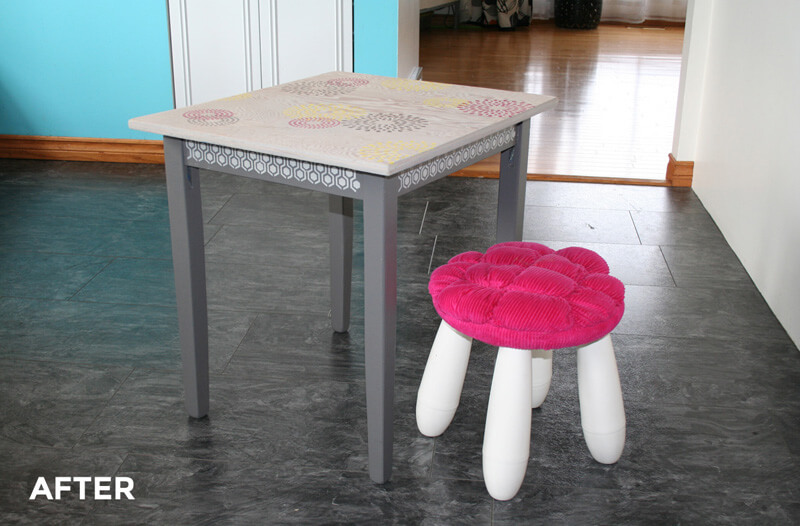
The result
And there you have it – a walkthrough of my first refinishing project, start to finish.
Are you curious about how much the project cost? I don’t know where the receipts got to, but I’ve got what I remember below. Things I didn’t have to buy that would have cost additional funds include the house paint, stencils, paint scraper, paint thinner, and a few extra pairs of rubber gloves.
$10 – secondhand table
$20 – paint stripper, rubber gloves, stripping pads
$20 – wood stain & sealant
$12 – stencil paint and brushes
—–
$62 – total
What if you want to make one yourself?
I found myself wondering how easy this project would be to reproduce. Ikea offers a similar sized children’s table at for $35 (Kritter). If you were willing to purchase and cut down a sheet of plywood for a stained top, you could have something remarkably similar without all the work of stripping and sanding. That sounds pretty good to me about now!