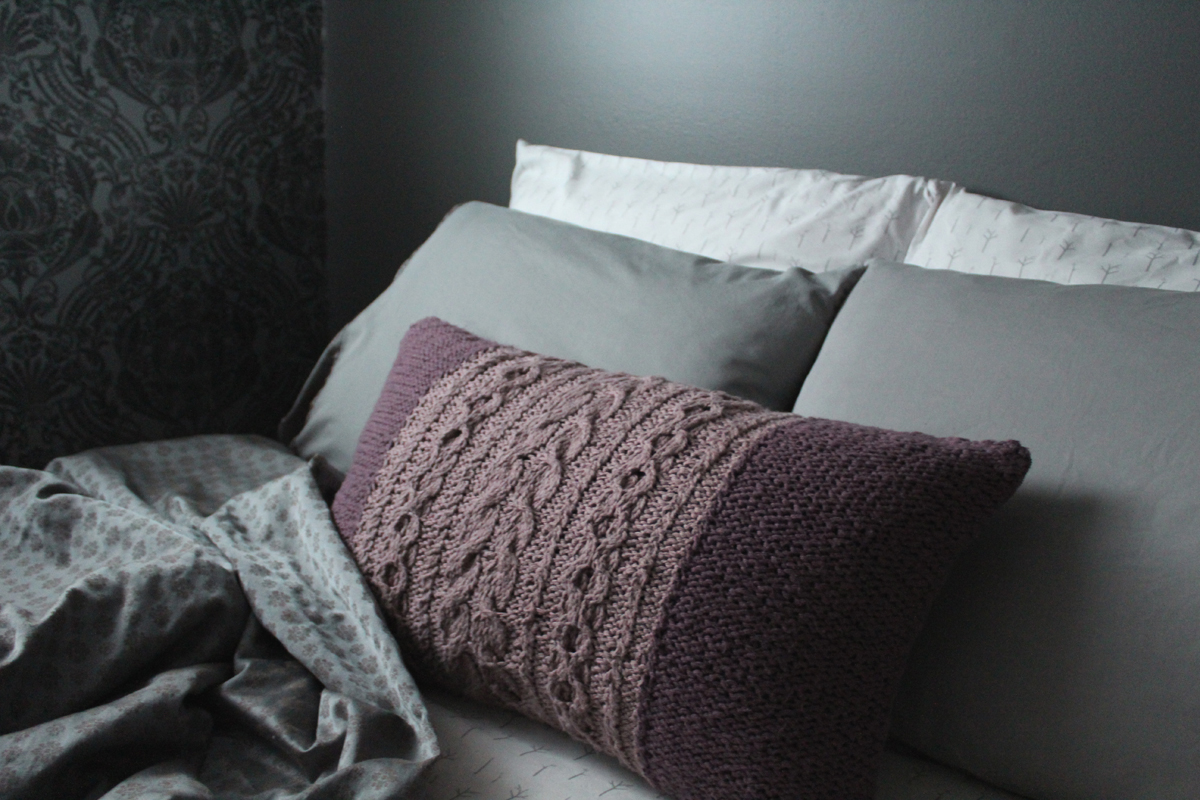
Do you ever wake up in the morning just wanting to make something? Although I hate having to get out of bed, about half an hour later, post-tea and pee break, I’m ready to create. A few weeks back I got the bug to make a knitting/sewing pattern for the Billow Pillow. And today I’d like to share it with you.
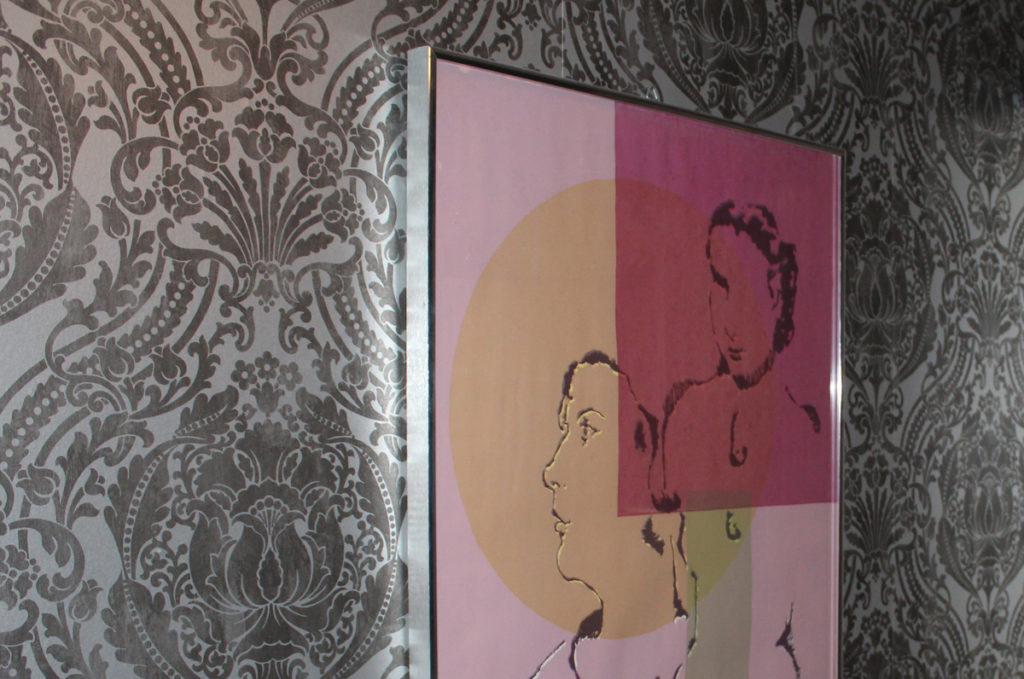
Let me take you back to last June when I was digging through all of Knit Picks’ yarn for the perfect colors to match this beautiful mixed media piece of my grandmother. My aunt made back in the ’70s and it hung in my parents’ home for years, so when I look at it I not only enjoy the simplicity but have all those lovely nostalgic feelings mixed in too. See exhibit A for my inspiration:

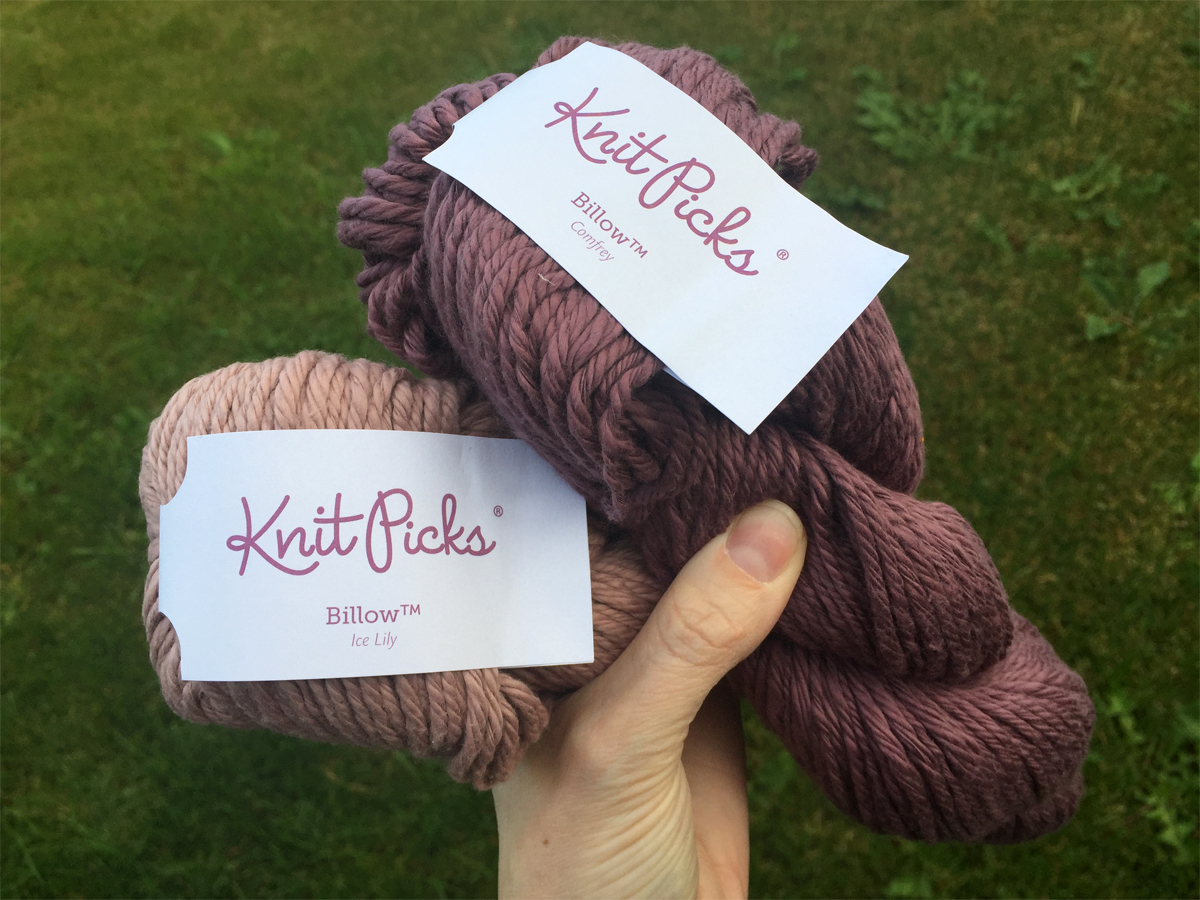
When I came across Knit Picks’ Billow yarn I knew it was just the thing. So I went in on an order with Kim to get free shipping and waited impatiently for the yarn to arrive. Which it did. And it was charming.

I’d been flipping through yarn patterns for several months, trying to find something I liked when I came across Hayfield’s Bonus Aran poncho pattern on Love Knitting (9683). Although not exactly a pillow pattern (maybe more truthfully, not at all), the cabling on it is just delightful.
I’d never tried cable knitting before but I wasn’t about to let that stop me. It shouldn’t be too hard, right?
Wrong. Or wrong-ish. There were a few factors at play here I didn’t expect. First of all, this pattern has 8 different cables running along it. So you need to pay attention to the details. After getting 5 rows in and having several mistakes, I ripped everything out. The second time through I split the pattern into chunks of 8-10 stitches, double-checking my work as I went. I made it to about 12 rows this time before I had to rip everything out again.
After a lot of frustration and having to frog everything 7 or 8 times my friend Alison came to the rescue. She told me of the miracle that is a lifeline. All it entails is threading a piece of contrasting yarn through your stitches every so often – I chose once at the end of every pattern repeat – so if you do have to rip things out, you don’t have to rip all the way to the beginning of the piece. So clever!
For more on lifelines, check out Wool And The Gang’s Top Ten Knitting Tips video on Youtube (Tip 9 is How do I use a lifeline):
The cable knit piece was by far the trickiest part. After that, things came together fairly easily – just knit up 2 contrasting pieces for the side using your standard stockinette stitch (knit a row, purl a row, knit a row, purl a row). Then you just stitch all 3 pieces together with a slip stitch, and voila! You have half a pillow.
I had to learn how to sew an inset zipper for the pillow backing, but it turns out all it involves is some measuring, cutting, and a bit of stitching. No big deal, right? Make sure to check out the So Sew Easy tutorial on adding a zipper – it says (and shows) everything you need to know!
After you have your zipper installed, it’s just a matter of sandwiching the fabric and knits together and zipping them through your sewing machine:
And now for the pattern
I’ve put together the pattern in a fantastic, if I do say so myself, PDF package below. But I’ll summarize the materials you’ll need here to get you started.
Stuff for Knitting:
Bulky weight cotton yarn (I used Knit Picks Billow)
– A Light shade (Ice Lily) – 2 hanks
– B Dark shade (Comfrey) – 3 hanks
Knitting needles – US size 10 / 6.0 mm
Large blunt-tipped sewing needle
Stuff for Sewing:
1 yard/meter heavy weight fabric (corduroy)
16″ x 26″ pillow form (Mine was Ikea Fjädrar, $7)
16″ coil zipper
Thread, measuring tape, scissors, pins
Download the Billow Pillow Pattern
Questions? Photos?
Love the pattern? I’m so glad! If you have questions, the best way to get in touch is to fill out a comment below or hit me up on Instagram (@SweetMgpi)
If you share photos of your finished project on social media, please tag with #billowpillow and #sweetmagpie so I can see the wonderful work you’ve done!


