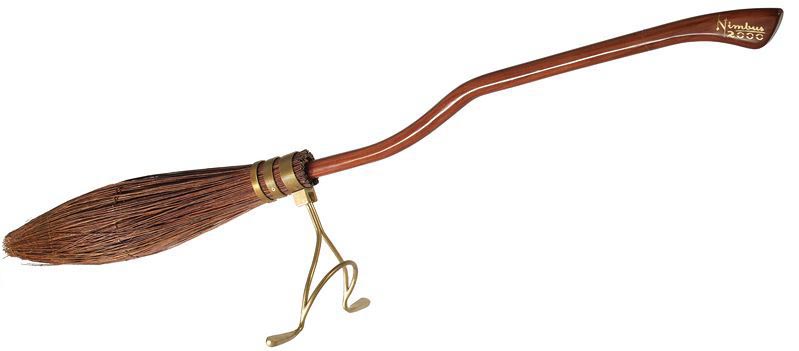
My friend Kim and I are working on some quidditch costumes – never mind that we’re about 15 years too late to be on trend. I’ve been doing a deep internet dive for good photos of the Nimbus 2000 since we’re both huge fans of this specific Harry Potter broom. The handle shape and visible wood grain
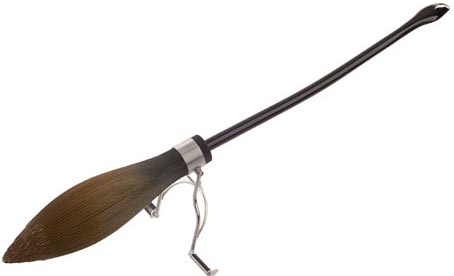
Draco Malfoy’s Nimbus 2001, although supposedly superior in the Harry Potter books, is a lot more plain in the movies – straight handle, bulkier bristles – and not nearly as appealing:
So we’ll be starting off on making our own brooms as part of our costumes. Hooray! Having perfect broom = priceless. Learning woodworking? We’ll see how it goes.
Adding the Nimbus 2000 symbol to your broom
The logo is particularly important to me to get right (big design geek right here). It turns out there are a myriad of ways there to add this sharp logo to your broom:
- Spray paint + stencil (How To Make a Nimbus 2000 on Instructables)
- Gold marker + stencil (Nimbus 2000 build on Flickr)
- Gold foil decal made with a Cricut (How to make Harry Potter’s Nimbus 2000 on Youtube)
- Carving the logo into the handle and painting it with gold paint (I made a Nimbus 2000 for a birthday present on
imgur )
My favorite method is definitely the decal, for two reasons. One, it’s really hard to get detail work right – whether it’s with a stencil or hand carving – and using a machine cut decal means you can get it just right. And two, it’s way easier. For sure.
But I couldn’t find a good version of the logo anywhere online (cue tearing up and a few violins here). And I needed it for the vinyl cutter!
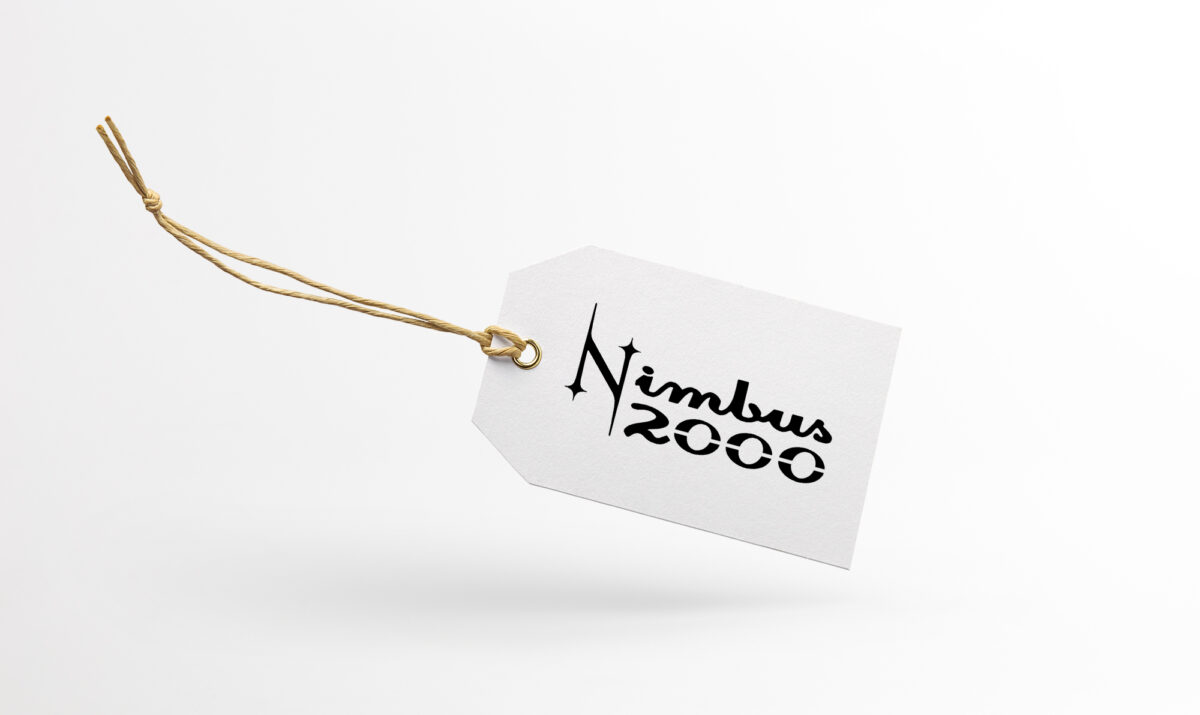
So I took an evening to make a vector version of the Nimbus 2000 logo. I wanted to share it with y’all as well so you can use it for making your own Nimbus 2000:

Vector (PDF) Vector (SVG) Bitmap (PNG)
And if you make a broom and it turns out even halfway worth sharing, I’d love to see pics. Happy broom making!
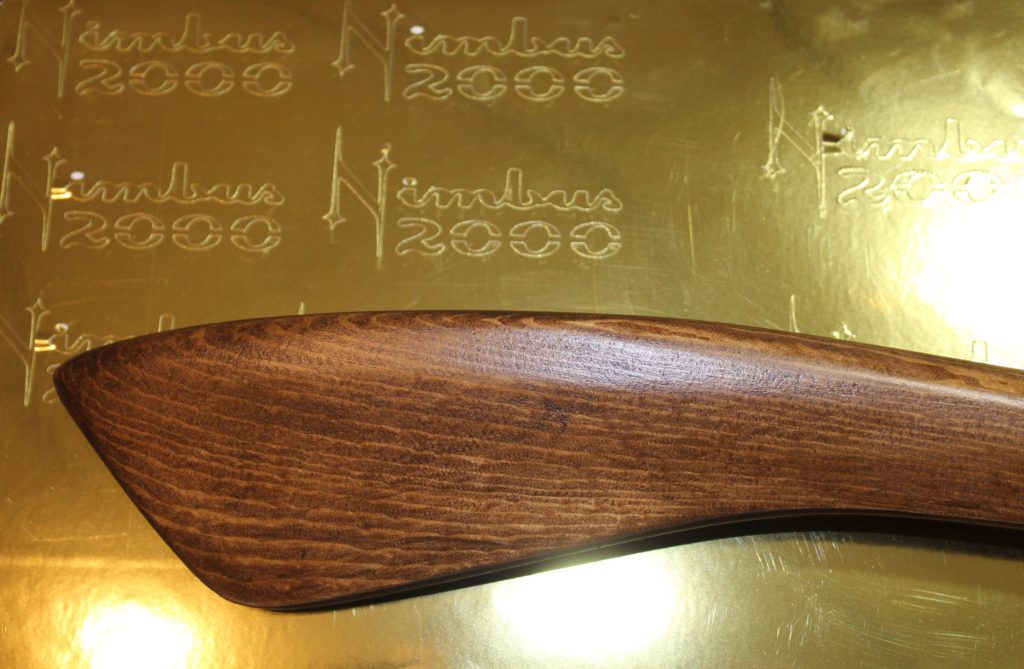
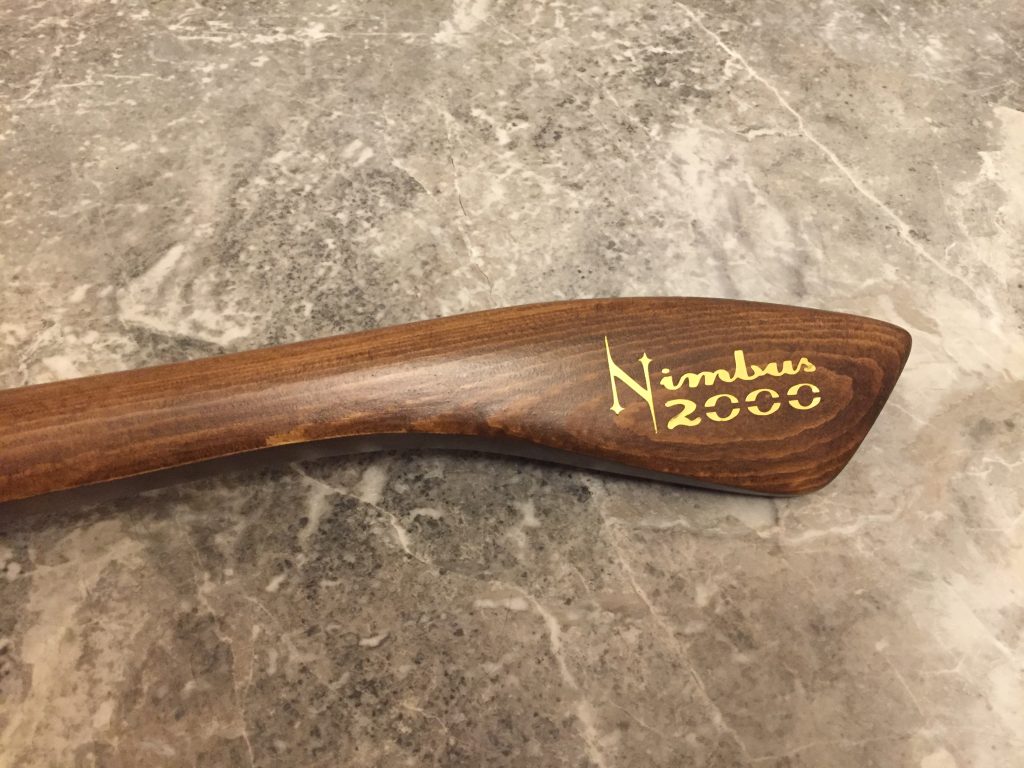
June 2019 update: My home-brewed Nimbus 2000 is complete! Here’s a finished pic of the decal I made using this SVG:
And if you’d like to see more photos of my Nimbus 2000, check out the post (with free handle pattern)!

12 replies on “Nimbus 2000: the symbol (free download)”
Muchas gracias por el Vector, estoy haciendo una Nimbus 2000 para un regalo, y quería hacerle el vinilo!!! ^^ Encantado de pasarte fotos cuando este acabada!!
You’re so welcome! Thanks for offering to share photos – I’m excited to see them!
I am big fan of Nimbus. I want it name for my bike
can you please tell me which font is use to write Nimbus 2000
Thanks in advance
Hi Raj! I didn’t find a specific font for “Nimbus 2000” so I hand-wrote it. Feel free to download the graphic from this post to use for your bike, though!
salve vorrei tanto replicare la nimbus 2000 per uso personale.
Hi Giacomo! Although I don’t hold any copyright for the Nimbus 2000, you’re welcome to use my patterns to make your own. Happy broom making!
Hello. My name is Pat and I’m in the middle of a Nimbus 2000 build for my pregnant ‘Harry Potter’ obsessed 36-year-old daughter Charlotte.
The broom was originally intended to be for a fancy dress quiz evening at the college where she works, but then along came the COVID 19 Coronavirus and the evening function was canceled, but not the Nimbus 2000. It’s now destined for baby’s ‘Harry Potter’ themed nursery (baby not due until August).
I’ve been self-isolating from the coronavirus due to underlying health issues so with time on my hands I re-started the broom project to hopefully make a very close replica.
After looking carefully at the many enlarged stills from the movie I realised the original shafts were not made from solid wood but were actually made from laminated bentwood using 2 different wood types, with a solid wood headstock. This laminated construction would have imparted great strength and ensured the broom didn’t get easily broken during filming.
By scaling the enlarged photos the laminated main shaft appears to have been formed from alternating 3/16” layers of 2 different wood types (most likely oak & mahogany), with a grafted on solid wood headstock and grafted-on knuckle at the top of the front section of the shafts S-bend. (I personally think the knuckle and possibly some of the front shaft carving was an afterthought to make it easier for the then young ‘Harry’ to grasp the shaft during filming).
In the main, I used the pictures from the Diagon Alley shop window, the table-top unwrapping of the new broom and those of Ron Weasley holding the broken broom (this shows the laminated construction particularly well).
On looking at the various stills from the film it became obvious that there were at least 4 different brooms used in shooting, each a little different to the others. So hopefully without compromising the overall design I’ve blended some of the minor differences in detail from 3 of the original brooms into my final design.
Over last few weeks I’ve spent well over 120 hours on the laminated shaft, added a grafted on the oak headstock and an oak knuckle. Using mainly a very small spokeshave and sandpaper I’ve carved the shaft to a shape that I was happy with. I found the best way to ensure I had the shaping right was to overlay the shaft during carving over the scaled full-size images of the movie stills.
Using 2 pack wood bleach I lightened the colour of the shaft to soften the colour differential between the stripes of oak and mahogany in the main laminated section of the shaft so as to enable more even staining.
Due to the self-isolation I didn’t have any mid oak dye, so I’ve had to use a solvent-based dark oak dye that I did have, which is a bit of a shame but it’s not too much darker than the Diagon Alley broom colour. The shaft is now lacquered in a satin finish.
Fortunately, before self-isolating, I managed to buy some good coloured willow withies for the broom head from a local Withies grower (I live in Somerset, England). I had also already bought some heavy brass wire and some brass rod. So my next job is to create the broom and then I’m going to reproduce the footrest as seen in the earliest (and smallest) form.
Once I’ve finished the broom and hopefully no longer social isolating I’m looking forward to finding someone with a vinyl cutter to get your nimbus 2000 logo made 2½ inches long by 1¼ inches high (I’ve tried cutting masking tape stencils by hand, but the results not crisp enough).
I don’t have a website, but would happily forward some mid-construction & finished photos if there is another means.
Thank you for your website it’s been really helpful, informative and enjoyable.
Best wishes and hope you keep well.
Kind regards Pat Holland
Hi Pat,
This whole project sounds just amazing! I can tell you’ve put a lot of love and care into this project, and I’m sure Charlotte will love it. It sounds like some pretty amazing nursery decor! And wow, the amount of effort you’re taking to get it movie accurate. I also noticed that they used several brooms for filming. I think this gives us a good chance to choose the version we like best to make. I’ll be very interested to hear how the withies work out for the broom tail. That’s been the hardest part for me – mine are very thick and don’t want to behave!
All the best,
Martha
Making one of these with my 5yo son – Thanks for making the SVG available, it’s perfect!
So excited to see this being useful! I’m sure your son will love his broom 🙌
Thank you for sharing the logo with us.
Amazing job, Martha!