Our children have been growing up, as children tend to do. When our kidlets were very small I kept tiny fingers out of my projects by putting WIPs on the table, out of reach. This worked for a
Phase two was the guest room. I’d push the bed aside to make room for whatever I was working on if it needed to be left out. What they don’t see is less of a temptation, right? Out of sight, out of mind? Sort of.
But I always knew there was a light at the end of this tunnel. A day when I could leave projects out and have them still in the same spot (and condition) when I came back to them. Well, ladies and gents, that day has arrived.
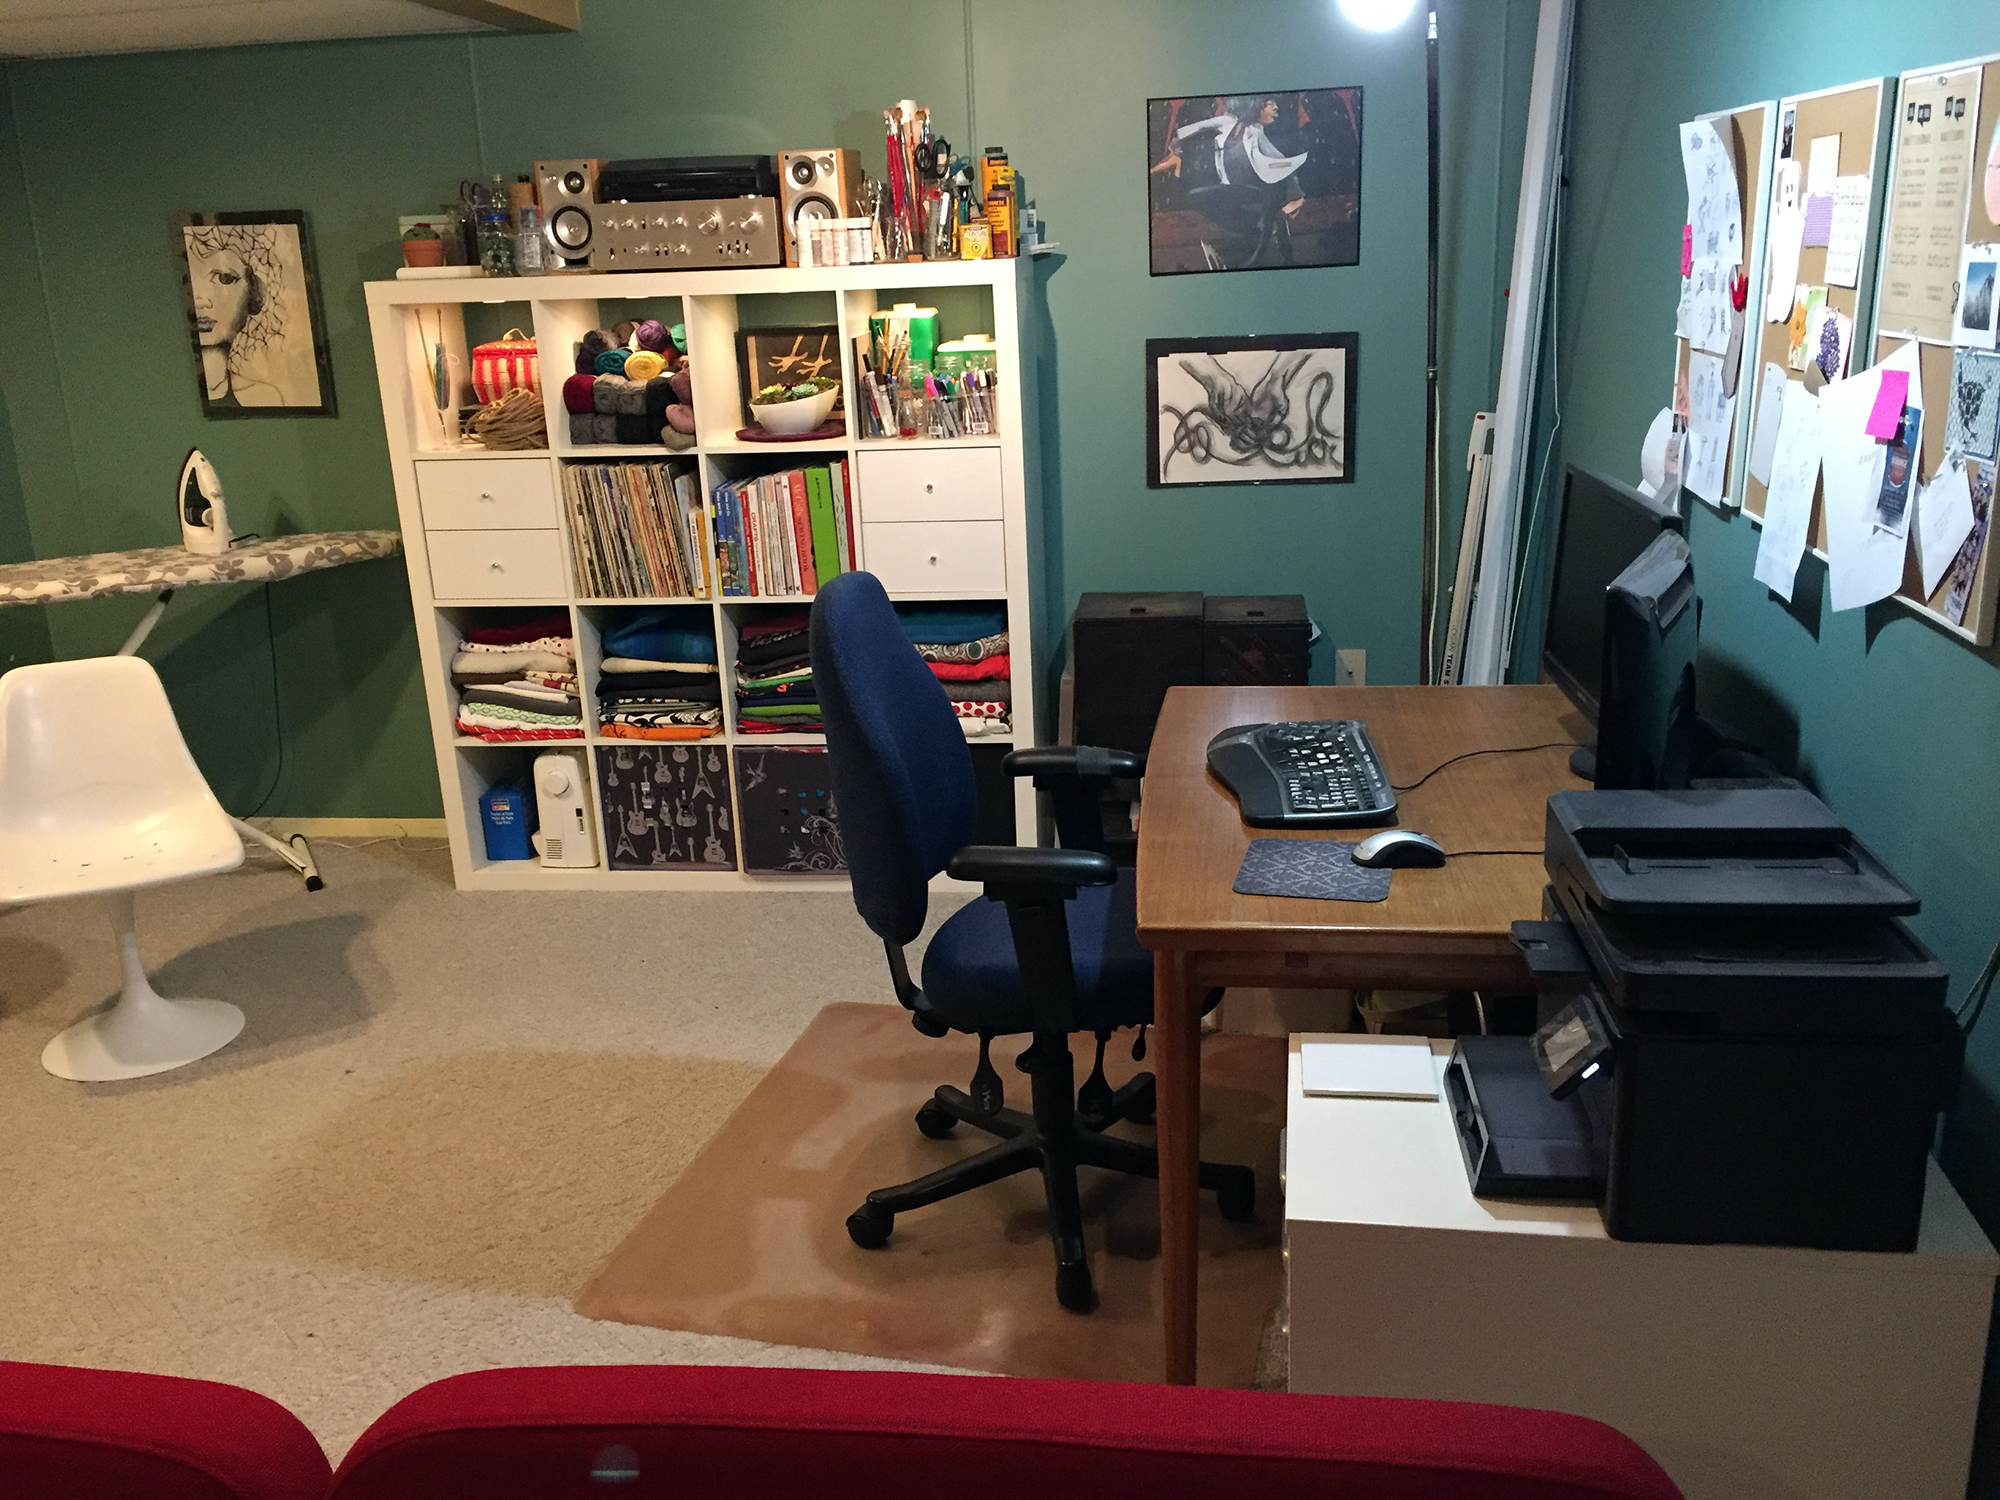
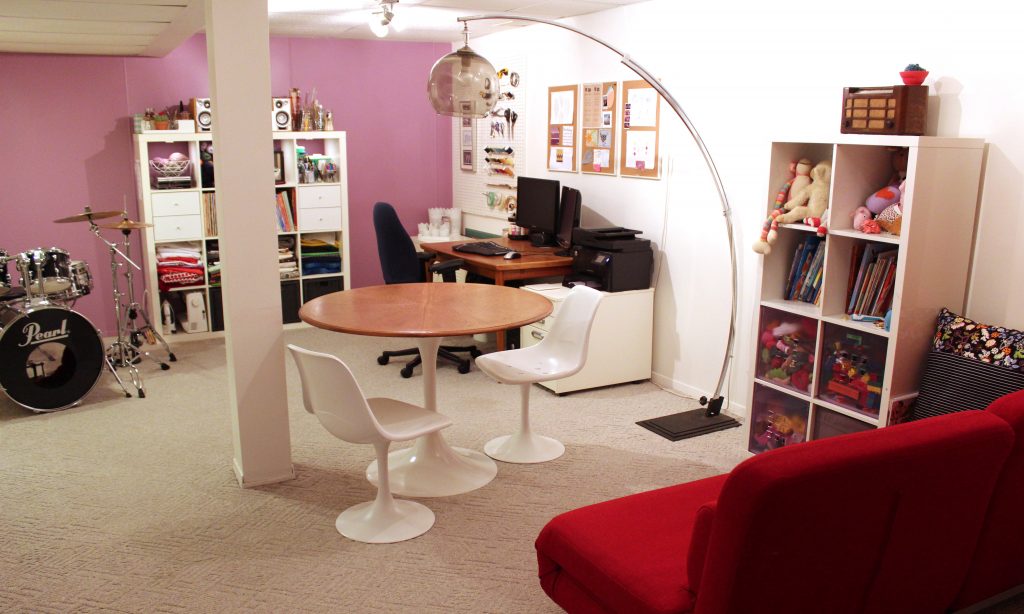
My workspace has now taken over the basement. There’s still a shelf with toys and a sofa to relax on, but the rest is mine. All mine! (Insert maniacal laughter here.)
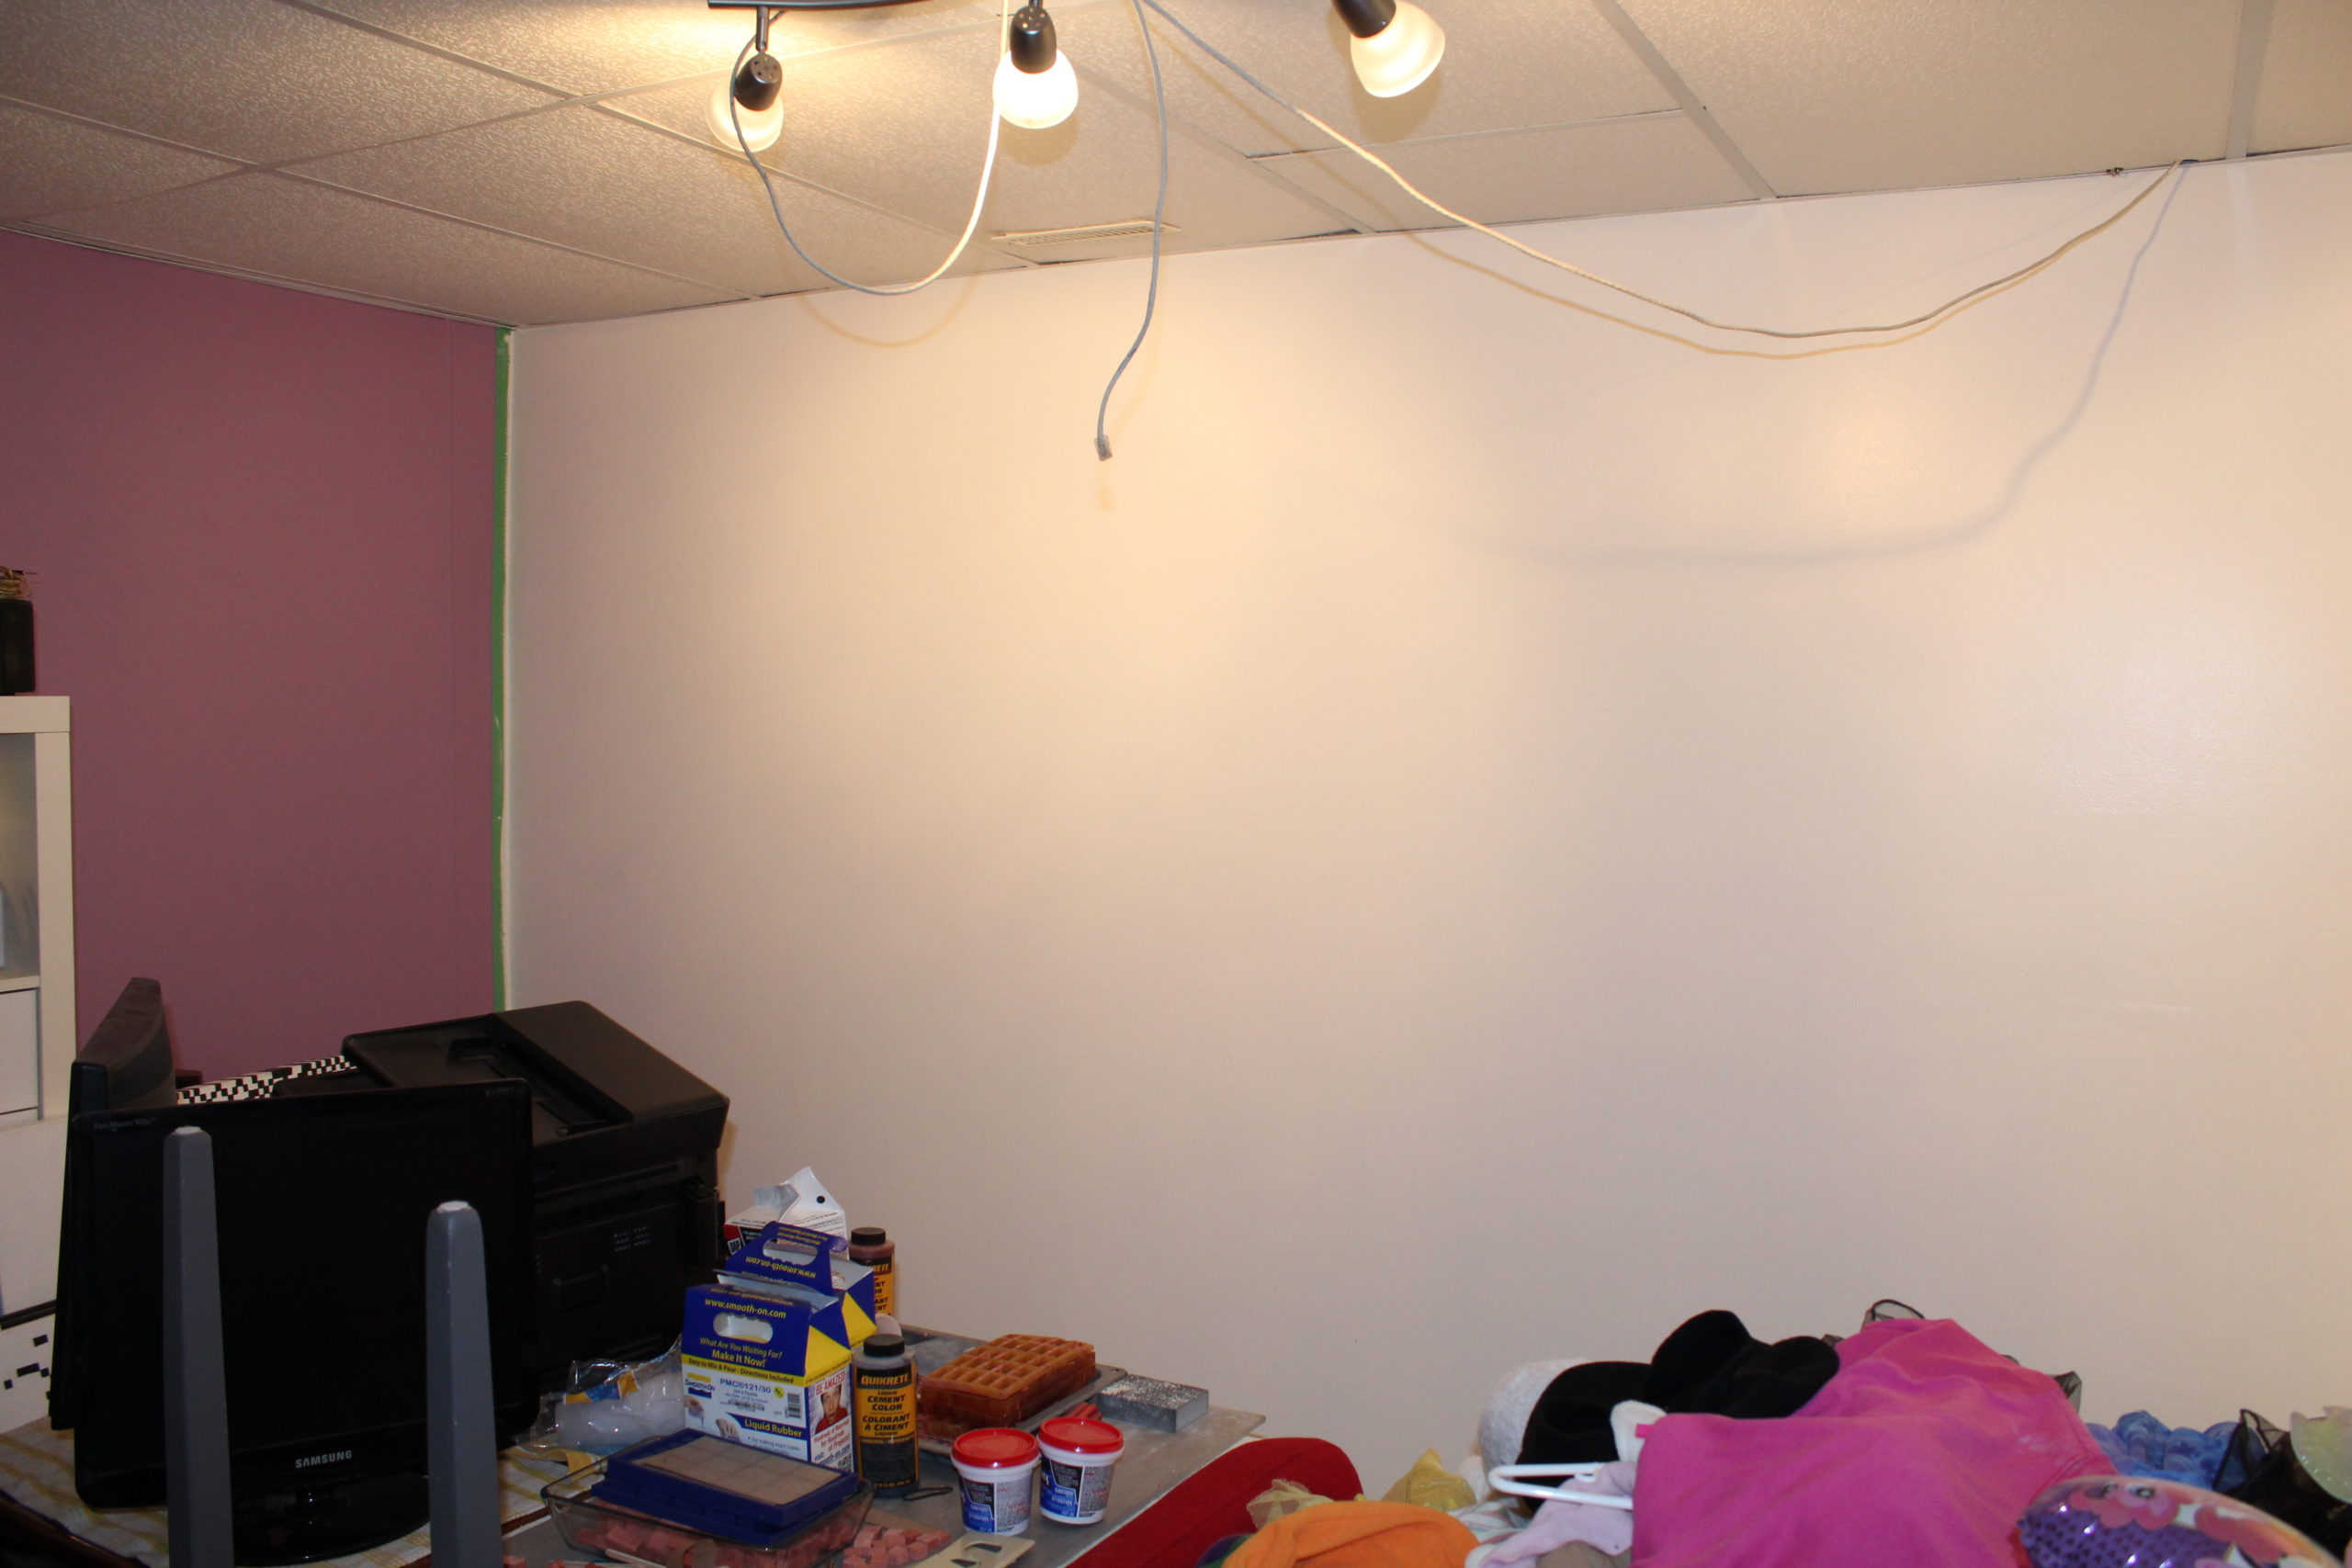
What this meant, of course, was that I wanted to give the basement a facelift. We don’t have the budget for a complete overhaul, but a few cans of paint sounded like a great start. Our basement hadn’t been painted since the previous owners were in the mood for a fresh coat, and it felt way too dark for what I wanted. Wanna see?
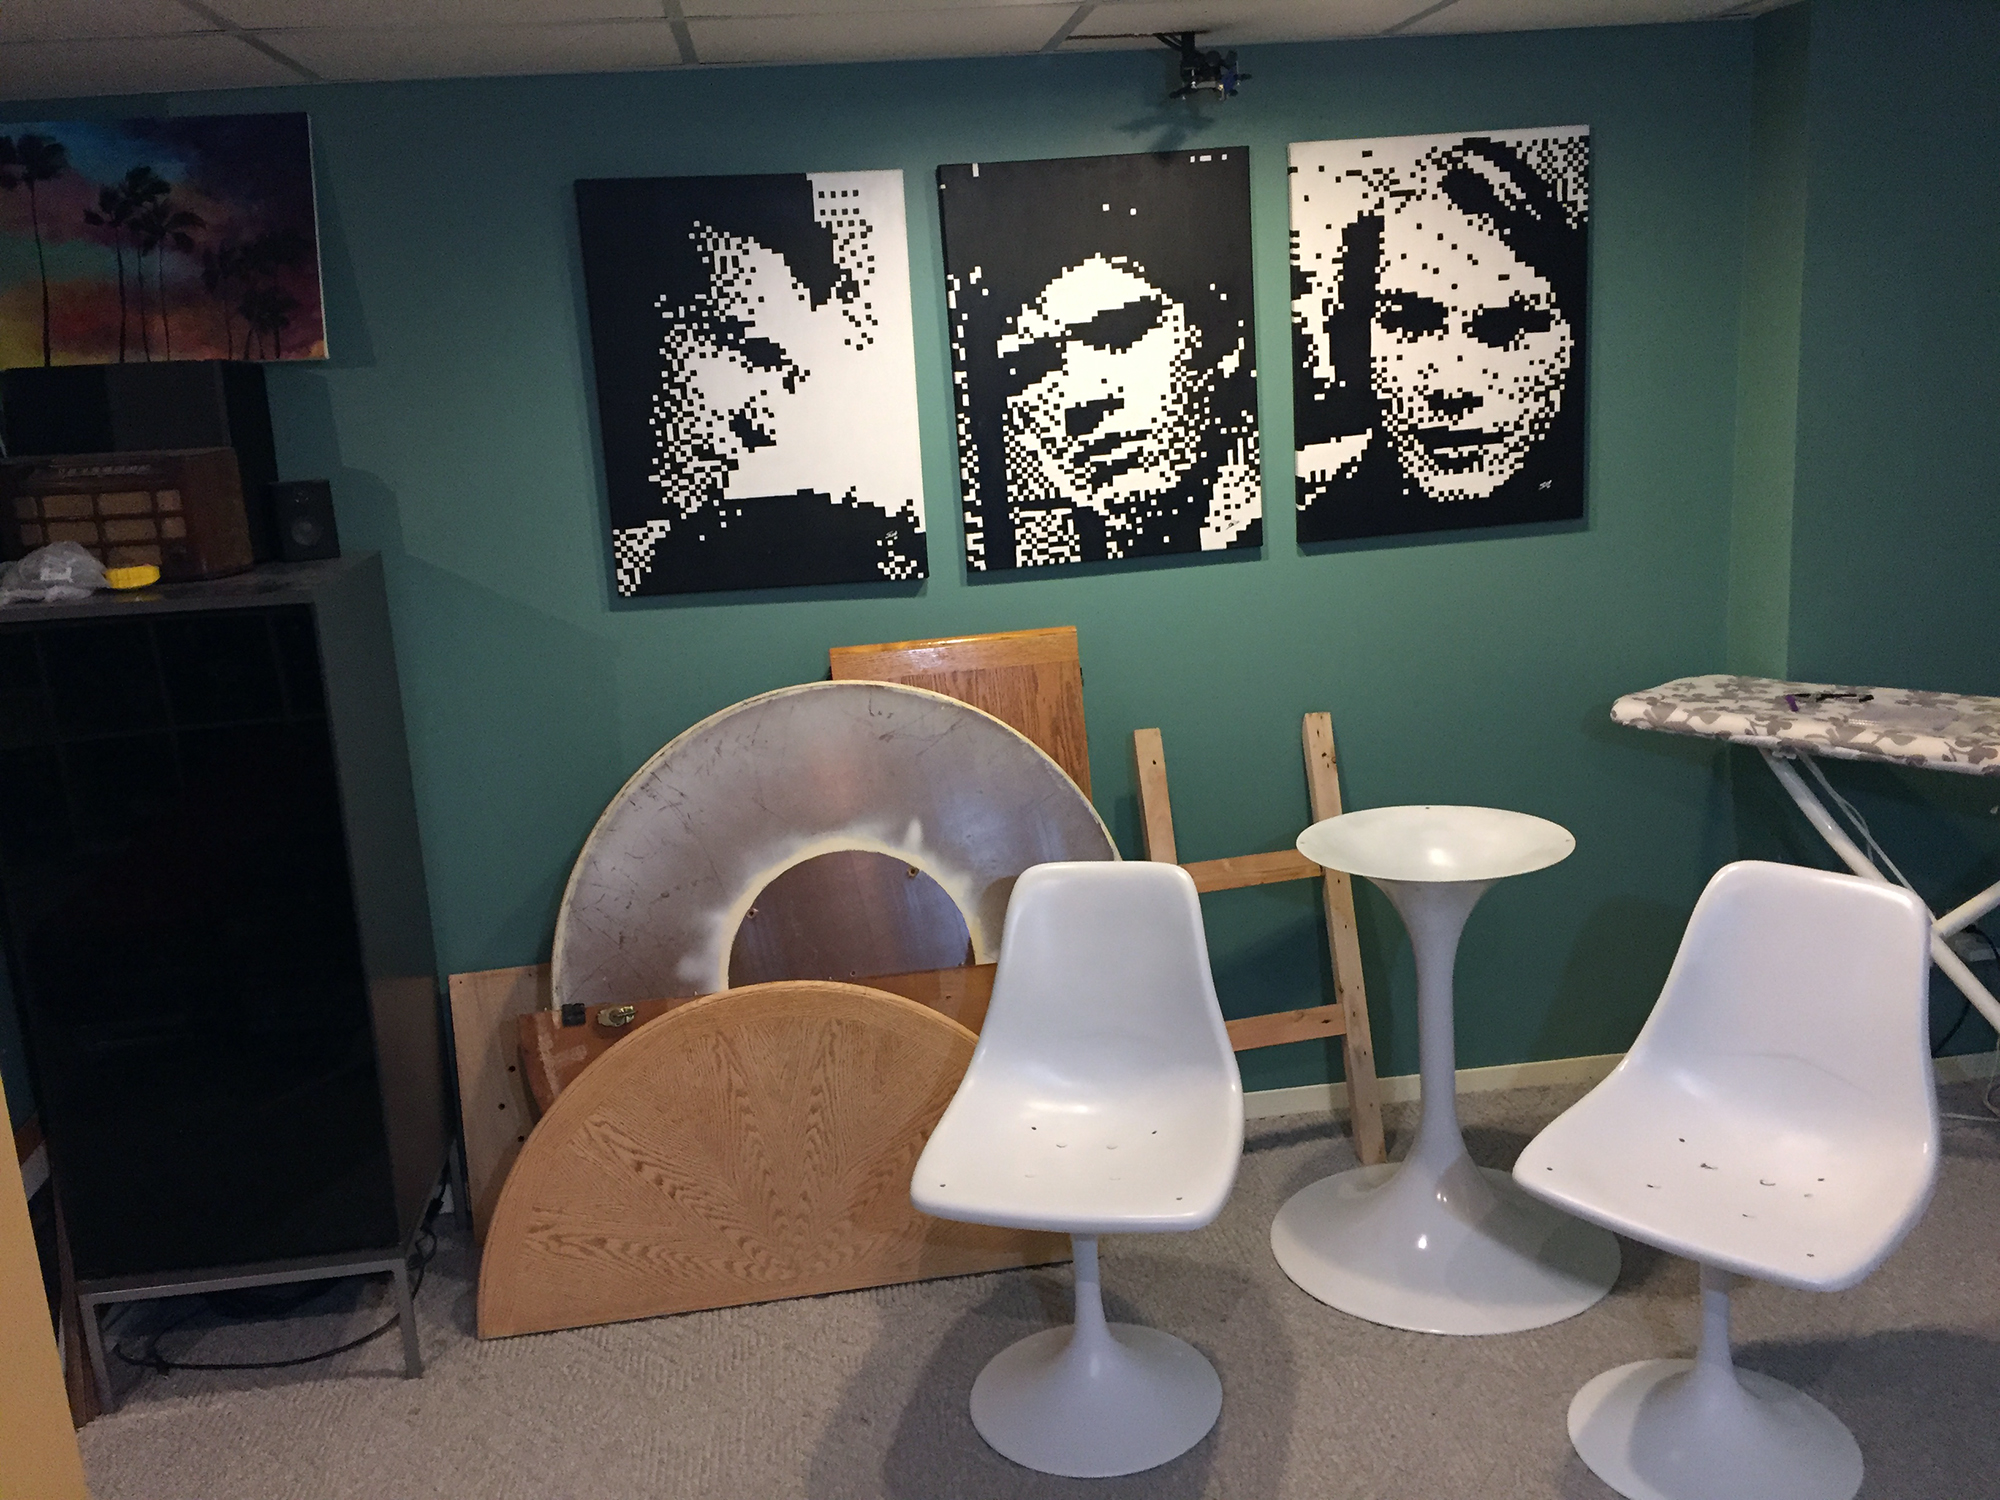
Where do we go from here?
I wanted to end up with a bright, organized space that would not only hold all my maker-ey
Looking at the beautiful spaces others have created can be a dark and slippery slope. There are some amazing workspaces out there and it’s all too easy to move from inspiration to room envy. But after all the digging, I found a few photos that gave off some seriously great vibes:
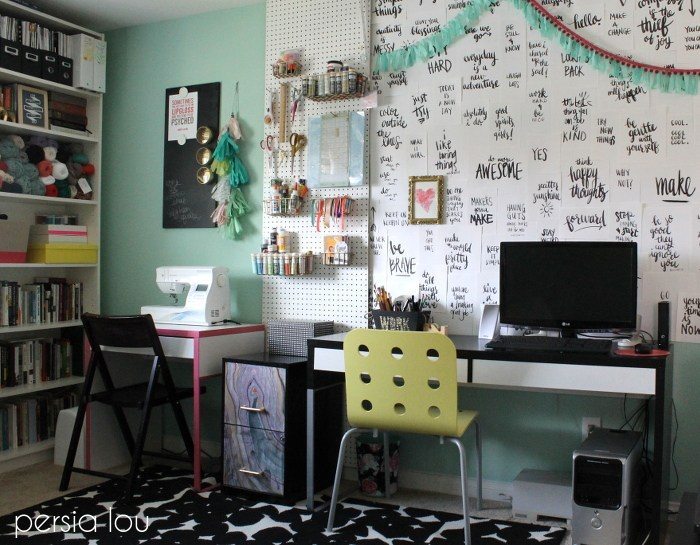


Do you notice anything in common with these 3 pictures? I sure do. Lots of white, lots of color, and lots of pattern.
I grew up in this grand old farmhouse that was built in 1910. The living room was papered in stripes, the kitchen in some wild ’70s fruit baskets, and my bedroom in orange and yellow florals. When we stripped the paper off of my bedroom walls, we discovered 3 more layers of wallpaper underneath! It was like I just happened upon a perfect hidden glade no one had set eyes on in centuries… made of wallpaper.
Suffice it to say, any space that’s mine just feels more mine with some wallpaper. But all that wallpaper I love is not only
Let’s use a stamp instead
My friend Carmen is a Stampin’ Up pro, and I’ve been sneaking over to her place every few months to make cards for several years now. I’ve seen some lovely stamp patterns, and thought – what if I could use a stamp instead?
At this
First things first
I started this whole project by painting all the walls and trim in the basement, then letting it dry for a week or so to make sure it cured before I started adding things on top. A coat of white does wonders, right?

Makin’ that stamp
Now that I was ready for a stamp, I needed to figure out what kind of pattern I wanted. I did a whole lot of online searching before stumbling across a

Now that I had my pattern selected, I just had to decide how big to make the stamp. I like a big bold pattern so I wanted a fairly large pattern repeat. This led to the decision to make a 3″ x 6″ stamp.
Custom stamps at that size tend to be a bit pricey, but after some price comparison, I decided to go with thestampmaker.com. To order a stamp you just upload a black and white illustration of your stamp and they’ll cut, manufacture, and mail it to you. It cost about $47 for the stamp, $13 for an un-inked ink pad in the same size, and $20 for shipping to Canda from the USA.
I was so excited when I got this beauty in the mail! Just look at that wonderfulness right there:

Ink and paint and testing, oh my
Next came the testing of inks. I wanted gold and had some gold acrylic paint laying around so I did a bit of testing. The acrylic wasn’t cooperating –
Thankfully my friend Carmen came to the rescue and recommended Tsukineko’s Delicata Golden Glitz ink ($7 USD ea). It’s an ideal shade of gold, not brassy or orange, and was much easier to stamp with than the acrylic.

I was planning to stamp a 10 ft x 8 ft wall, so I ordered 2 ink refills, assuming that one wouldn’t be enough. Boy, was I right! I ran out of both jars of ink and had to order a third to finish up.
Once I had my supplies (stamp, stamp pad, ink, and a rag for wiping up mistakes) as well as some test stamps under my belt, I was ready to start on the wall!
The wall stamping process
The first thing to do was measure out where the stamps would go. My stamp testing on paper had shown that to make the pattern I wanted I’d need to stamp with 5.5″ from the center of one imprint to the center of the next.
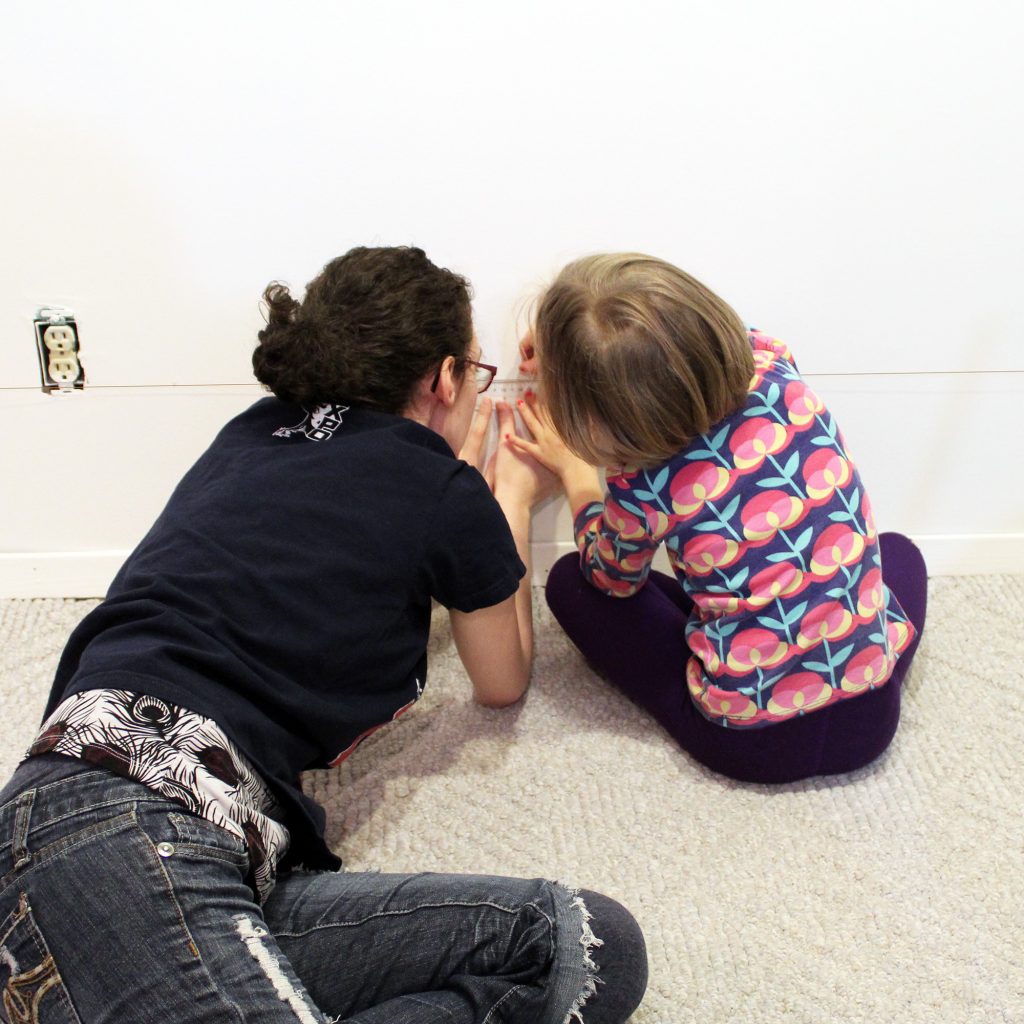
Because my pattern is in rows, I had a few options to make the rows straight – I could pencil in guidelines and erase them after, use a chalk line reel and wipe the chalk off after, or use some string as a guide.
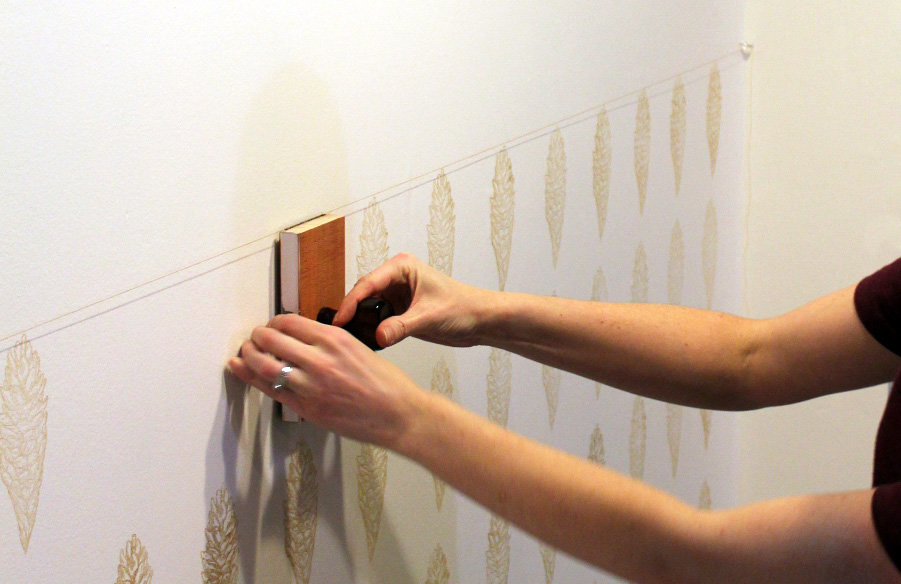
The last option seemed to have the least cleanup work, so I ran a string between two thumbtacks positioned at the right height on either end of my wall. Once the string was up we put a little pencil mark every 5.5 inches to show me where the stamp would go (my friend Kim came over to help plus Little Miss):
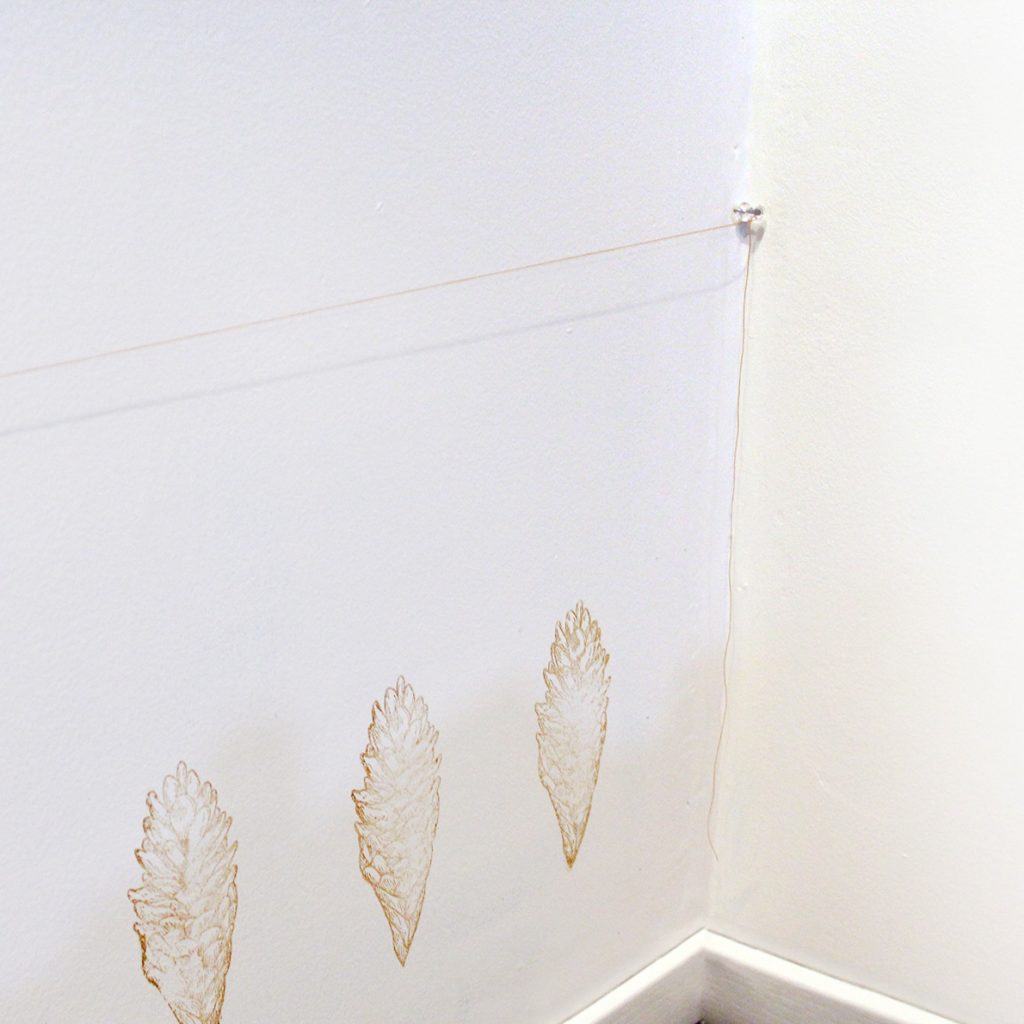
Each time I was done a row I’d just move the string line up 14 inches and repeat to position the new row. I also found that if your stamp didn’t print cleanly, you could wipe it off with a wet cloth fairly easily and re-stamp.

Once I’d done the rows all the way up to the top, I waited for the ink to dry. It took a few days to stop smudging when I touched it, so I waited for several more days before adding the staggered pattern on the way back down.
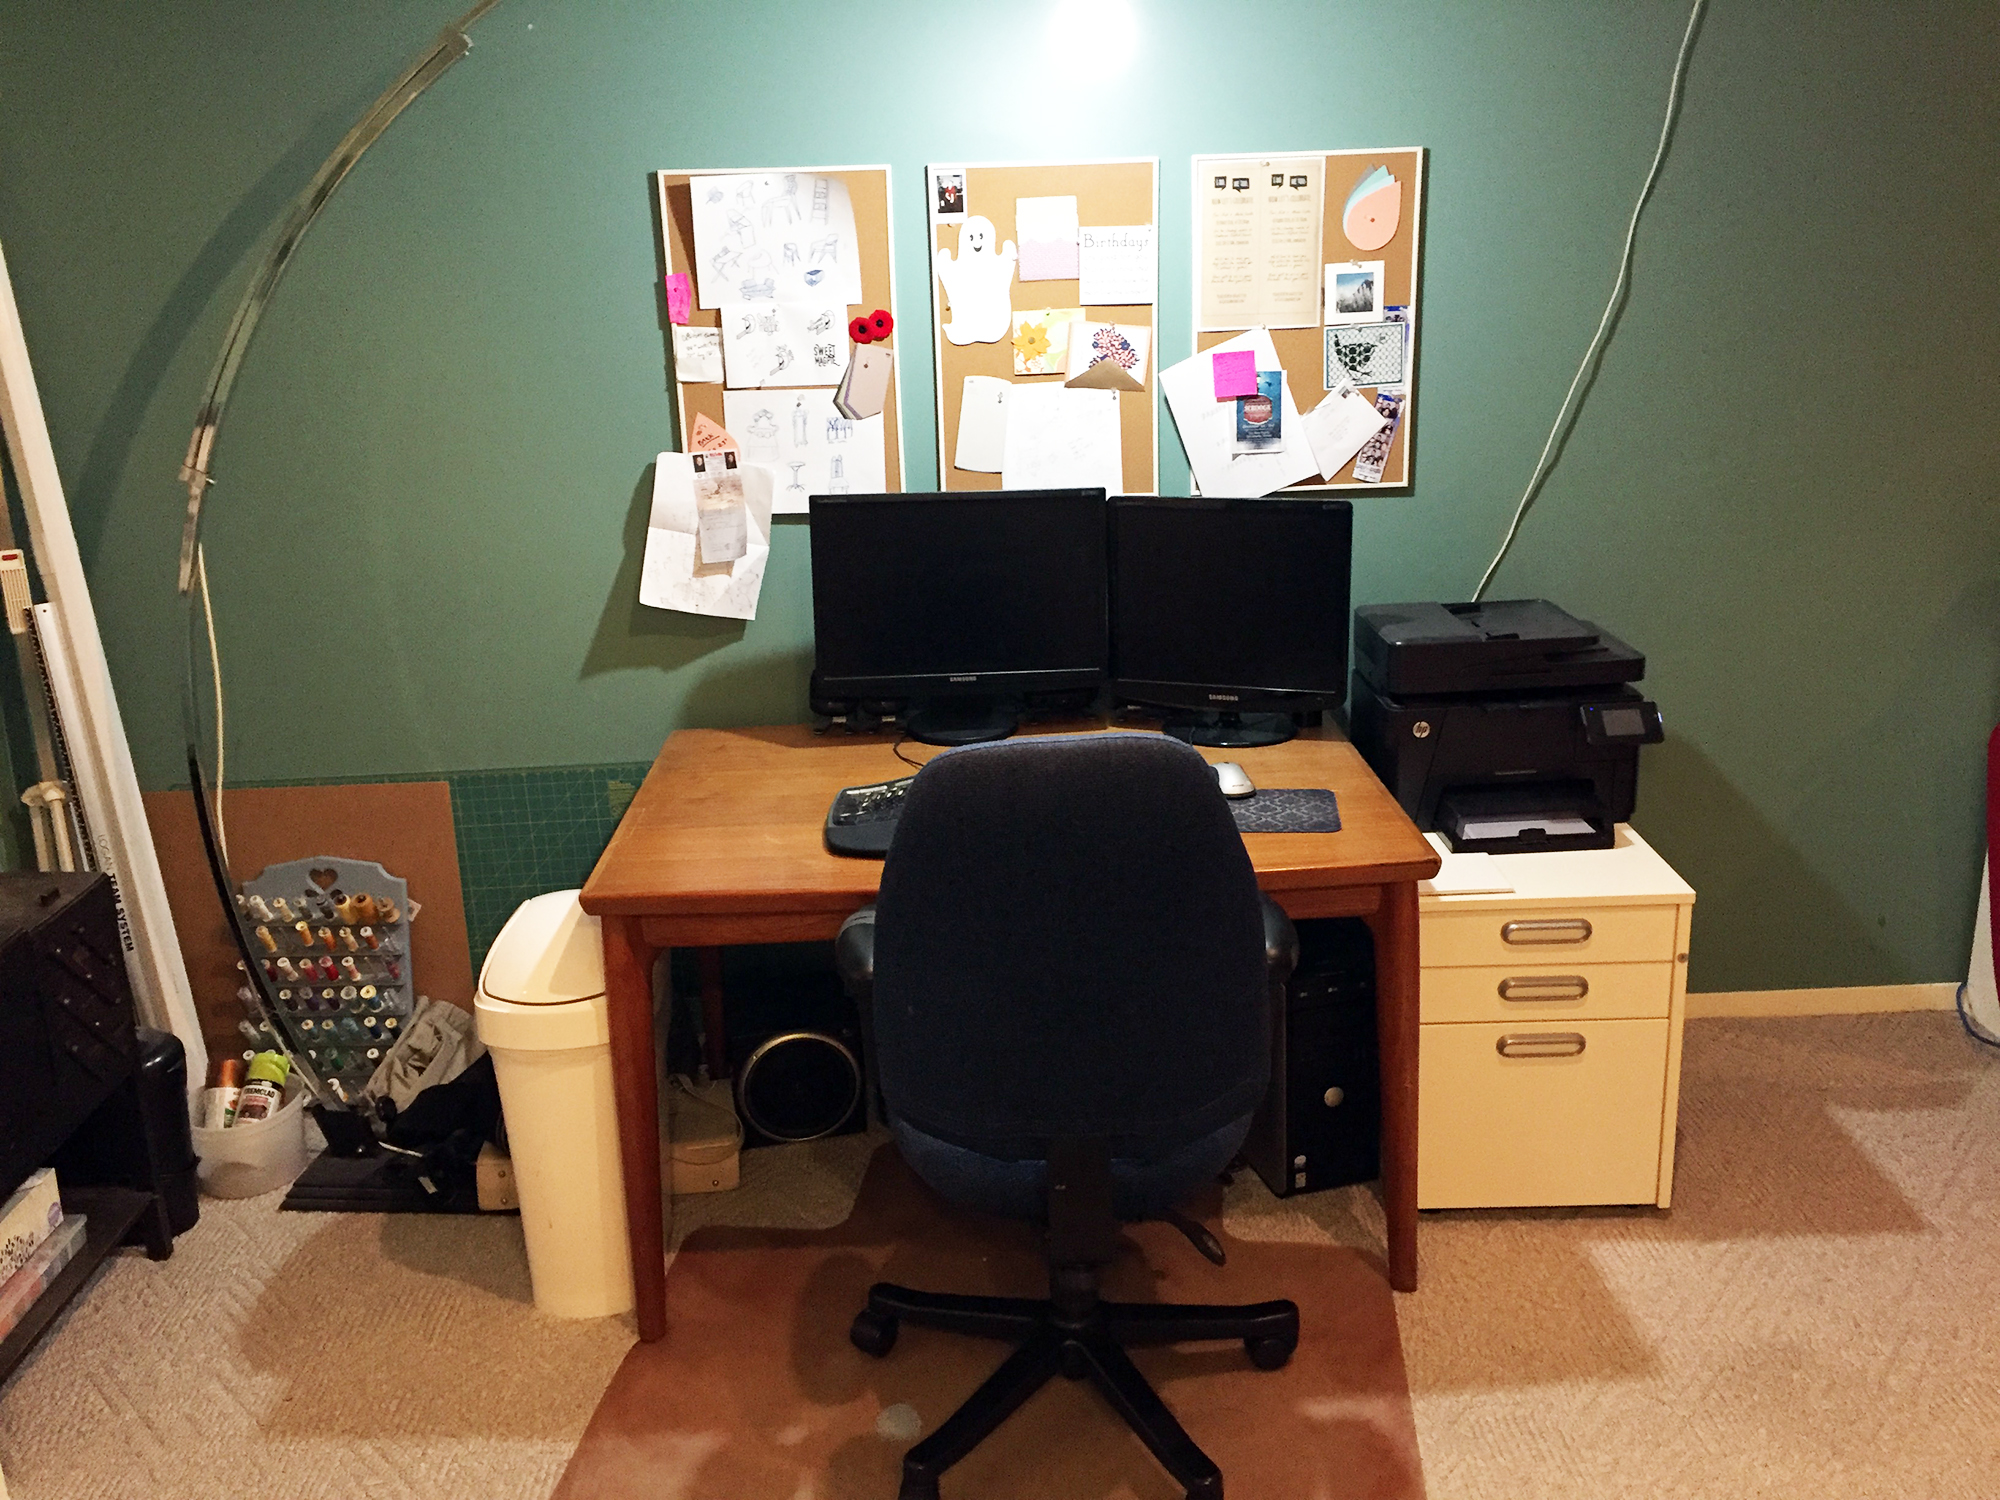
A wall that’s just right
I was super pleased with how the wall turned out. I haven’t figured out what else I want on the wall, so right now it’s just chillin’ out on its own.
By the time everything was said and done I’d spent about $200 and 25-30 hours of work to transform the whole basement:
- $75 worth of paint (white and purple) for the walls
- $30 for gold ink and shipping
- $80 for the custom stamp, ink pad, and shipping
- 2 hours to find the stamp image and prep it
- 20 hours to paint the basement (patching, painting,
touch ups ) - 8 hours to stamp the wall
I’m so glad I put the time (and a bit of cash) into brightening up the basement. It’s been transformed from a leftover catch-all area to a bright, spacious work area. Every time I sneak off to the basement to work on my latest project I feel like I’m getting away with something wonderful. What more could I ask for?


2 replies on “Wall stamping. With a stamp.”
Your printed wall looks amazing, and I love that you reused almost everything you had in the basement… and still made room for the drum set! Great example of how you don’t need to spend a lot to make a big difference. Thanks for posting!
I’m a big fan of reusing what you’ve got. Paint, rearrangement, and the odd new item is all it takes. Thanks so much for commenting!